Skip to content
Interested in making crafts with epoxy resin, but don't know where to begin? You've come to the right place!
We've been crafting for a long time, and we even developed our own brand of epoxy. So we've learned a lot about this amazing crafting material and how to use it to create awesome projects.
In this article, we'll share everything you need to know about epoxy resin. That includes:
- How to use epoxy resin (step-by-step)
- What it is (and how it's different from UV resin)
- Some ideas to show you what's possible
- Safety precautions
- Tips and tricks for better results
So grab a favorite drink, pull up a comfy chair, and let's dive in!
How to Use Epoxy Resin: The Step-by-Step Guide
Molding with epoxy isn't complicated, but it may take some repetition and practice to get the look you want.
Let's walk through the steps one by one so you can get started right away.
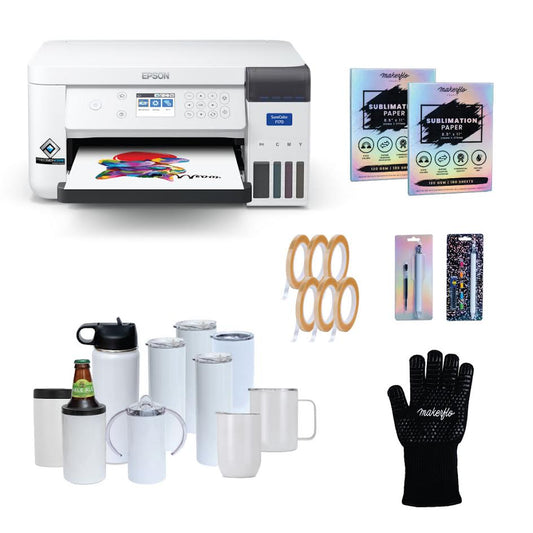
Step 1 - Gather Your Materials
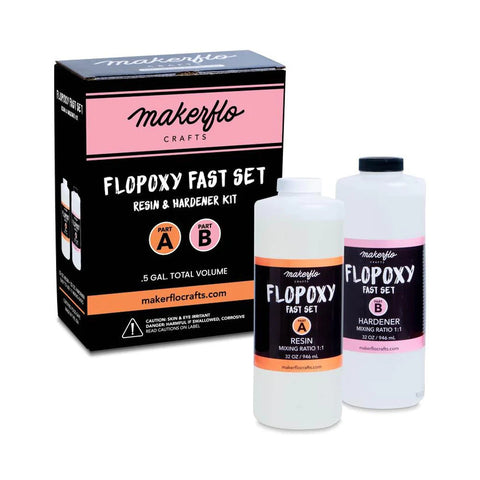
First, you'll need an epoxy kit.
Epoxy resin always comes in two bottles. One is for the resin, and the other is for the hardener.
When you mix them together, the chemical reaction begins. The hardener will slowly cure the resin, little by little over time until it's completely hardened.
Other supplies you'll want to prepare:
- Silicone measuring cups or disposable plastic cups for mixing
- Stir sticks (popsicle sticks, stainless steel or silicone stirrers)
- Silicone mats, parchment paper, or wax paper to cover your workspace if you'll be painting or drip-drying your project
- A level surface for drying your creation
- Any dyes, glitter, or other items you'll mix into the resin
- Any objects you'll be covering or encasing in the material (if applicable)
- Kitchen torch or heat gun to remove bubbles (optional)
- Sandpaper for sanding down your object
- Silicone molds for pouring (if applicable)
- Safety equipment, including safety goggles, nitrile gloves, and a respirator (and always be sure to work in a well-ventilated room)
- Baby wipes to clean
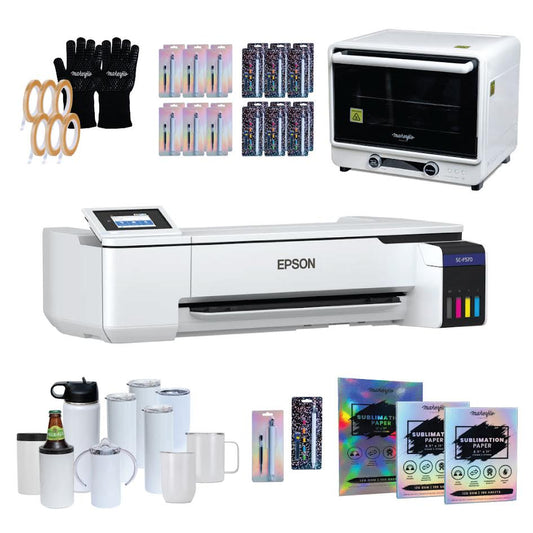
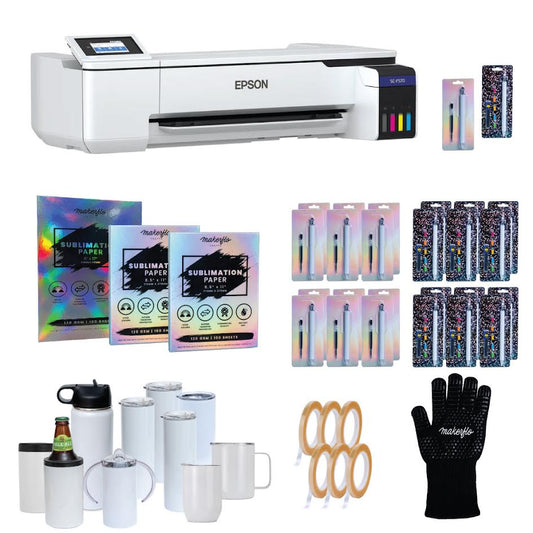
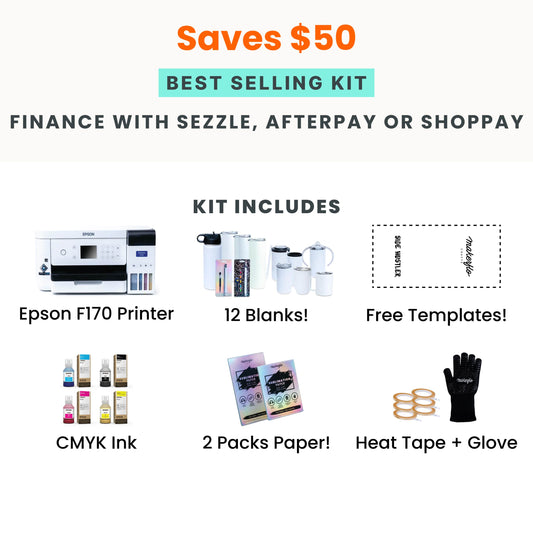
Check out the Flopoxy Fast Set Epoxy Kit from MakerFlo Crafts. It's fast-drying, high-quality, and determined to be food-safe (after curing) by the FDA. It doesn't have a strong chemical smell, either!
Make sure your silicone mold or anything you're going to coat in resin (like a stainless steel tumbler, for example) is clean, free of oils and dirt, and fully dry. (You can use a coffee filter to remove dust and then wipe with 91% rubbing alcohol.)
After that, it's best to sand the surface of your object and roughen it up to help the epoxy stick better. (Or pick up a pre-sanded tumbler!)
Step 2 - Mix Resin and Hardener
Once you've got your materials ready, it's time to mix the resin and hardener.
Measure the resin and hardener according to manufacturer’s instructions and mix them together in a bowl. (This can vary from brand to brand.) It's important to mix only the amount you'll need for each pour, since it'll start hardening right away.
Once the concoction is evenly mixed, you're ready to use the resin.
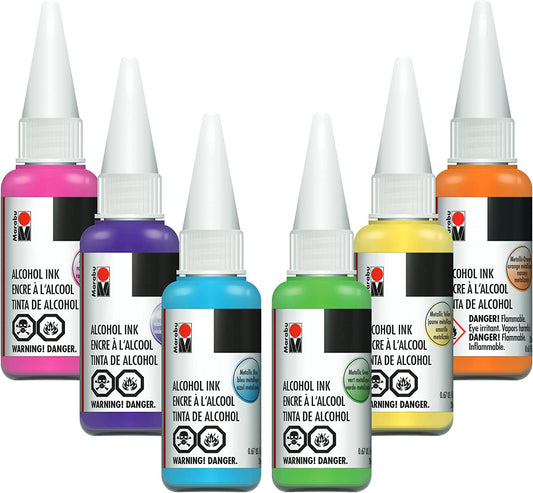
After the resin is combined, it’s time to add mix-ins like dyes or glitter to add color and vibrancy to your project.
Step 3 - Pour or Apply
Now it's time to pour!
You can fill up a shallow mold right away and leave it to dry on a level surface.
Or apply resin to your item in layers, letting each one dry according to manufacturer’s instructions before applying the next layer. (For example, you can add another layer of our Fast Set epoxy 2 to 4 hours after the previous layer, once it’s dry to the touch.)
When you're just getting started with epoxy, it's easier to find a craft tutorial you want to make and follow the steps before branching out and experimenting. Soon you'll get the hang of it and will be able to dream up your own creations!
To get you started, check out our tutorial on how to make a glitter tumbler.
Step 4 - Let Dry!
Once you've poured your layer of epoxy, it's time to let it dry. Epoxy resin doesn't need anything to harden—it'll cure by itself with time.
That said: Make sure you place your project on a flat, level surface so the epoxy will dry flat, not crooked.
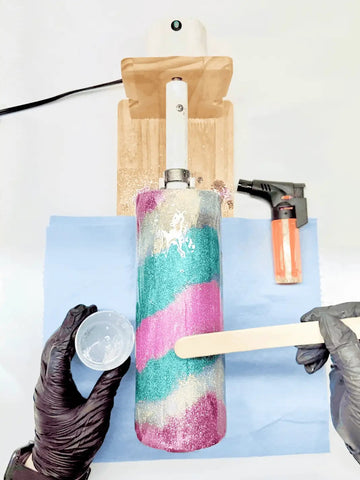
And if you've covered a tumbler or other round object without a mold, you'll need something to slowly rotate the item the entire time it's drying for an even finish. (A cup turner is great for this.)
If you see bubbles in your layer of resin, you can use a kitchen torch, heat gun, or even a hair dryer on low to gently work out the bubbles with heat. Some crafters have found success by lightly breathing onto the project (not blowing, but exhaling gently over the project) to remove bubbles.
What is Epoxy Resin?
Epoxy resin is a type of liquid adhesive that's easy to pour into and paint onto items.
When you mix resin with a chemical hardener, it starts a chemical process that cures the resin until it's completely solid and dry.
So when you pour it into a mold, use it to fill a crack in something, or coat an object with it, it'll slowly dry into a hard plastic surface.
Once epoxy resin is cured, it's clear, solid, durable, and ready for everyday use. Most epoxy resin (including Flopoxy Fast Set Resin) is food-safe when cured and can be used for eating and drinking utensils.
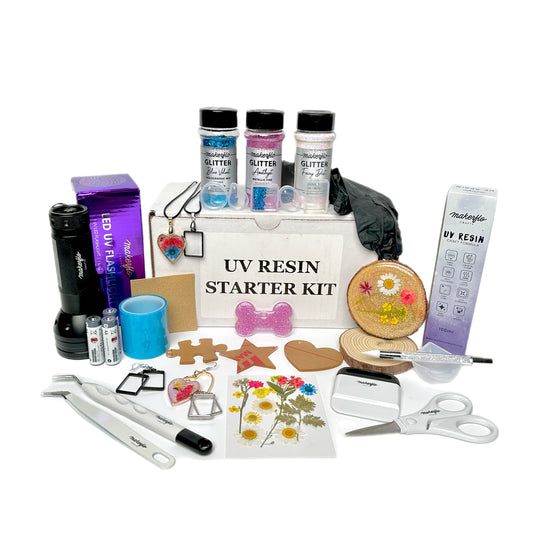
And if you're confused about the differences between epoxy resin and a similar but different material, UV resin, we've got the answers in this comparison guide.
What Can You Make with Epoxy Resin?
Epoxy resin is so durable, it can be used for everything from jewelry to tumblers, art projects, furniture, and more!
Here are some real-life examples to show you what's possible.
First up, this glitter tumbler made by applying glitter and paint to a stainless steel tumbler and covering it with a coat of resin.
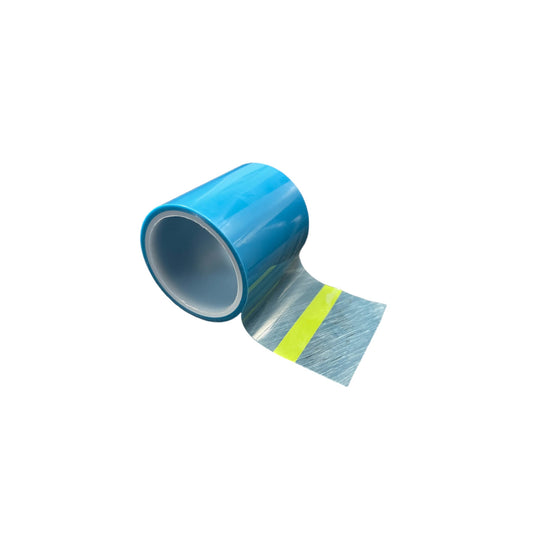
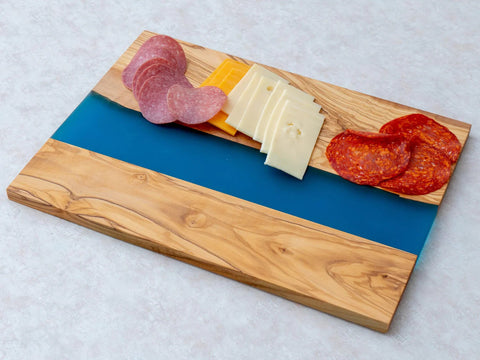
This cutting board has been finished with a streak of gorgeous blue epoxy resin for a unique kitchen tool that's completely food-safe.
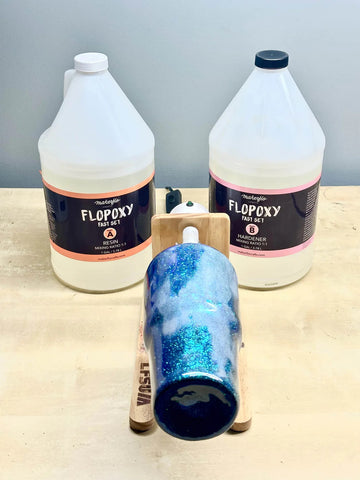
Many DIY-ers fill or cover wood with resin for eye-catching pieces of furniture.
You can also coat things with resin to give them a shiny finish.
Some DIY-ers and repair companies use resin to laminate floors, repair broken items, or fill in cracks in wood or other materials.
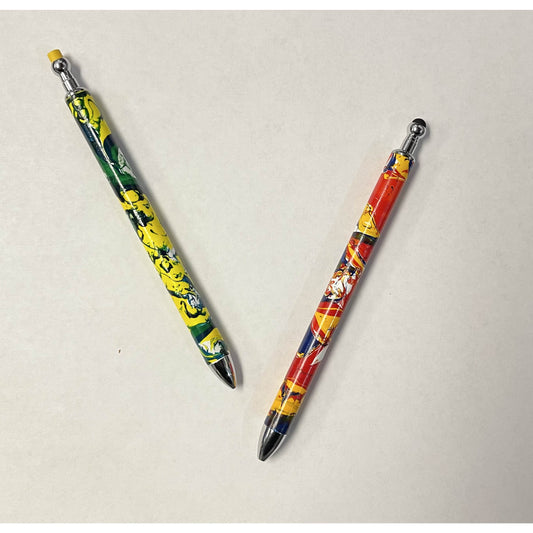
You can also create any shape and any color object, which makes for great pendants, drawer handles, photo frames, paperweights, or decorative objects—the sky's the limit with epoxy!
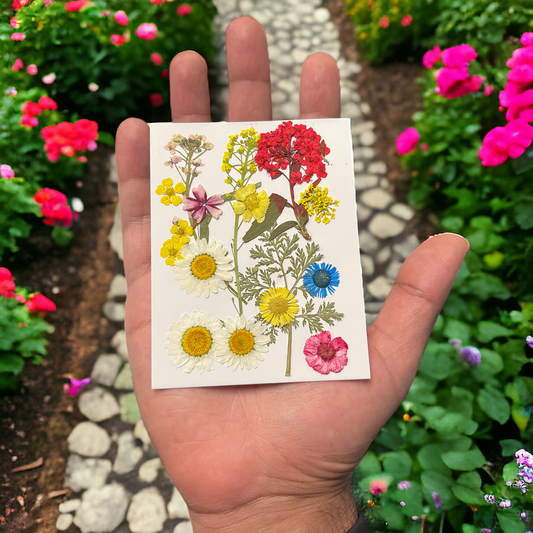
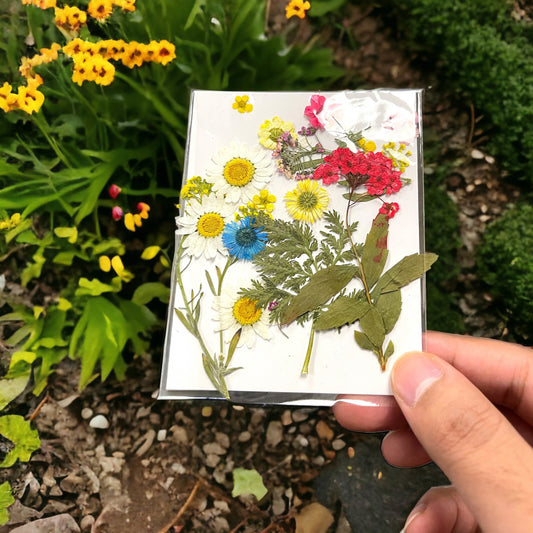
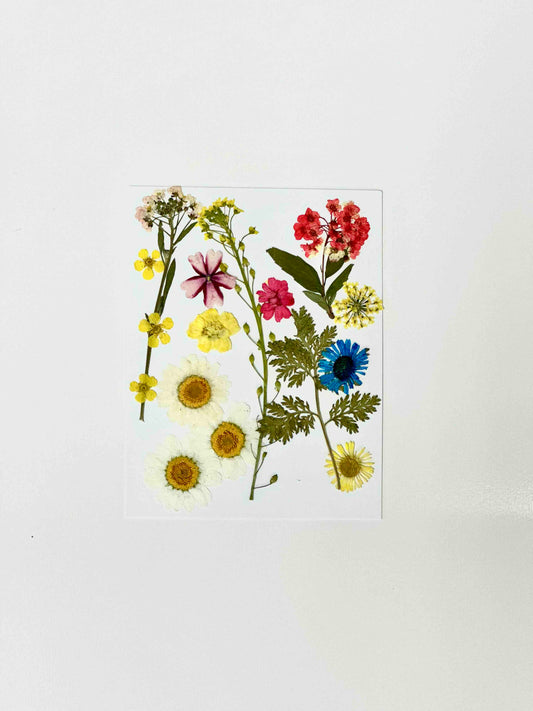
Plus, you can change the color and texture of your resin by adding glitter, dyes, dried flowers, or other dry materials to create color and texture. Discover more than 100 epoxy mix-ins in our shop.
Plus, epoxy sticks to almost any material, including metal, wood, ceramic, plastic, rubber, glass, concrete, and more.
Safety Precautions to Take with Epoxy
Epoxy is a serious chemical, and it's not something you want to use without proper protection.
The chemicals inside these materials can be harmful if ingested and can irritate the skin.
That's why it's recommended to wear proper personal protective equipment (PPE) like safety goggles and an optional respirator or face mask, or even full-face protection if your skin is more sensitive.
You'll also want to use nitrile gloves when working to keep your hands from touching the liquid directly.
Finally, make sure to ventilate the room by keeping doors and windows open and using a fan to circulate the air.
And if you accidentally get some resin on your skin, stop what you're doing and wash it off with soap and water right away.
Don't let the safety precautions scare you away from this awesome crafting method. Yes, you need to exercise caution, but epoxy is relatively easy to start for beginners, and with a few precautions, it can be totally safe to do.
Tips and Tricks for Epoxy Resin Success
Now that you know how to create your own crafts with epoxy, you're ready to get started!
And these tips will help you avoid thorny issues that you might run into when crafting.
- Seeing a lot of bubbles? You can use a kitchen torch or other gentle heat source to smooth out a bubbly surface. You can also gently breathe on the project to try to pop the bubbles and make it smooth. Or pop them gently with a sharp pin.
- Make sure to use a level surface, because epoxy will dry while lying flat. This will ensure a smooth surface.
- Prep your object before adding resin. Make sure any mold you're filling or object you're coating with resin is completely clean and free from oil, dust, and dirt. Finally, make sure the surface is completely dry before applying.
- You can sand down the final product. If you see rough edges or mistakes, you can use water and sandpaper to buff away the roughness. Just make sure to remove residue each time you wipe with the sandpaper, and use finer and finer sandpaper until the epoxy shines.
- Removing cured epoxy. If you've made a mistake and want to remove epoxy or an epoxy coating, it's difficult but can be done. To remove from a tumbler, you can use paint thinner or epoxy solvent to slowly dissolve and detach the epoxy, then scrape it off. You should use the same PPE as you do when applying epoxy for this. And of course, keep your workspace well-ventilated always. To remove from wood, you can use a cloth soaked in acetone to work at the epoxy until you can scrape it off.
Running into a problem that wasn't mentioned here? Leave a comment on this post and we'll add it to the list.
Get Started with Epoxy Resin
Figuring out epoxy resin can crack open a ton of new possibilities for your crafting hobby or business.
Now imagine your life after mastering resin. What will you make with this amazing material?
Once you're ready to get started, you can pick up your Flopoxy Fast Set Epoxy Kit with everything you need to get started.
Plus, we stock tumblers (including pre-sanded tumblers and discounted destash tumblers for practicing), glitter, dyes, and other mix-ins for you to customize your epoxy to your heart's content!
Finally, if you'd like to join a supportive community of crafters that can help you and encourage you as you start to learn new crafting methods, come on over to the MakerFlo Facebook Community where you can meet other crafters and share your creations with us.
We'll see you there!
Frequently Asked Questions (FAQs)
Is epoxy resin good for beginners?
Epoxy resin is relatively easy to start for beginners! All you need to do is mix the epoxy and hardener together according to the manufacturer’s instructions, then pour it into the mold or onto the object of your choice. Without any other equipment, the epoxy will begin to cure and become hard and dry within hours or a day or two. Learn more about how to use epoxy resin in the article above!
Does epoxy resin crack easily?
Epoxy resin, when formed into hard objects or poured on top of a hard object, is very durable and resistant to cracking. But if you make a very thin layer, it might crack under lots of pressure. People use epoxy to create jewelry, home decor, and furniture, so you can rest assured that it'll be strong enough for general use.
What is the major disadvantage of epoxy resin?
Epoxy resin is so easy to use that it's difficult to find a disadvantage. Compared to the similar but different product called UV resin, there's a little bit more work involved, since you need to mix the epoxy resin and the chemical hardener before you use it. You also must wait a long time for it to harden, and you can't speed up the process with UV light or heat. That said, all you need to do is mix, mold, and wait—it can't get much easier than that!
When does resin expire?
Resin and hardener can last for many years if you keep them stored air-tight in a dark and temperature-controlled place. But officially, you can expect resin to last for a year unopened. Once you open it, the chemicals will slowly oxidize and might change color before the one-year date. Eventually, resin will turn yellow, though it should still be okay to use.
What happens when my resin turns yellow?
You can use it with dyes to mask the color. It won't be good for clear resin pours anymore.
How do I throw away resin?
If you're getting rid of the chemicals in their liquid state, best to find a local organization or company that can dispose of chemicals like resin. You don't want to just dump it into your trash can, or worse, down the drain. Or you can mix it all together, let it cure, and then throw away the cured resin instead. That said, it's best to buy small batches of just what you need to avoid waste.