 Skip to content
DIY CRAFT GUIDE
Getting Started With Hydro Dipping

Getting Started
Supplies you’ll need
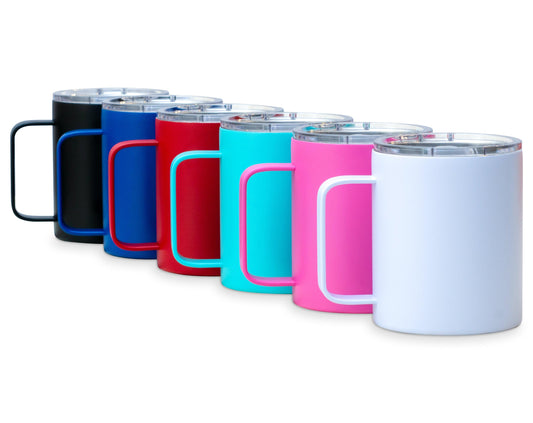
- Stainless steel or powder coated tumbler
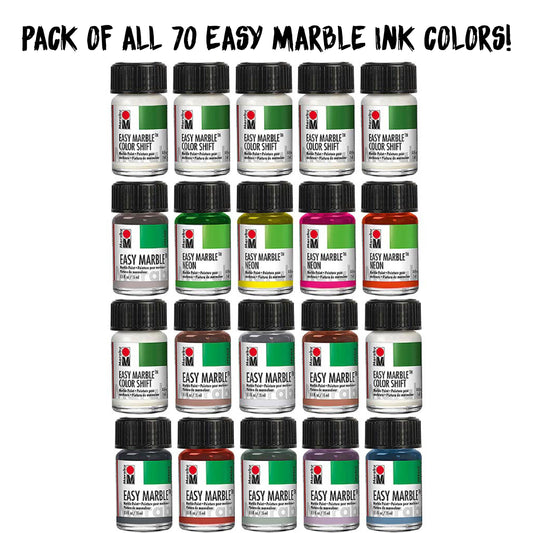
- Marbling Paints
- Dipping vessel big enough to completely submerge your cup and wide enough to pour enough paint to cover the tumbler (like a bucket)
- Lukewarm water to fill that vessel with leaving room for the dip!
- A cup stand or holder to use to dip your cup and keep your hands clean
- a skewer or straw to clear the water
- (optional) Spray paint! This can provide a background for your dip, but be sure to let it dry before dipping.
Step 1
Clean n' prep the tumbler
Step 1
Clean n' prep the tumbler
- Before starting the hydro dipping process, make sure your MakerFlo tumbler is clean and free of any oils, dirt, or debris. You can use soap and water or rubbing alcohol to clean it thoroughly.
- (This is an optional step!) We would recommend either starting with a light or white tumbler, or spray painting a stainless steel tumbler. (this will ensure the best color transfer possible). MakerFlo offers a wide selection of Powder Coated and Stainless Steel tumblers to choose from. If you do spray paint your tumbler, be sure to give it time to dry before dipping, typically 24 hours.
- You can still technically hydro dip a stainless tumbler, it just requires the right colors!
Add items you’ll need
- Vendor:
All Inclusive Marabu Set 70-Pack
Regular price $161.35$161.35Sale price Regular price $322.70 $161.35Unit price per50% offLiquid error (snippets/card-product line 391): product form must be given a product Sold out
Tips From Crafters
-
Work outdoors or in a well ventilated area. Protect your hands with gloves and cover the floor or surface with paper.
-Stacie
-
Shake all the paints well, remove the caps and set them next to the bucket.
-Caren
-
Add a high gloss sealer to give your piece a nice shine. Sealing not necessary if you wish to protect the paint.
-Melissa

Step 2
Gather your dipping tools
Step 2
Gather your dipping tools
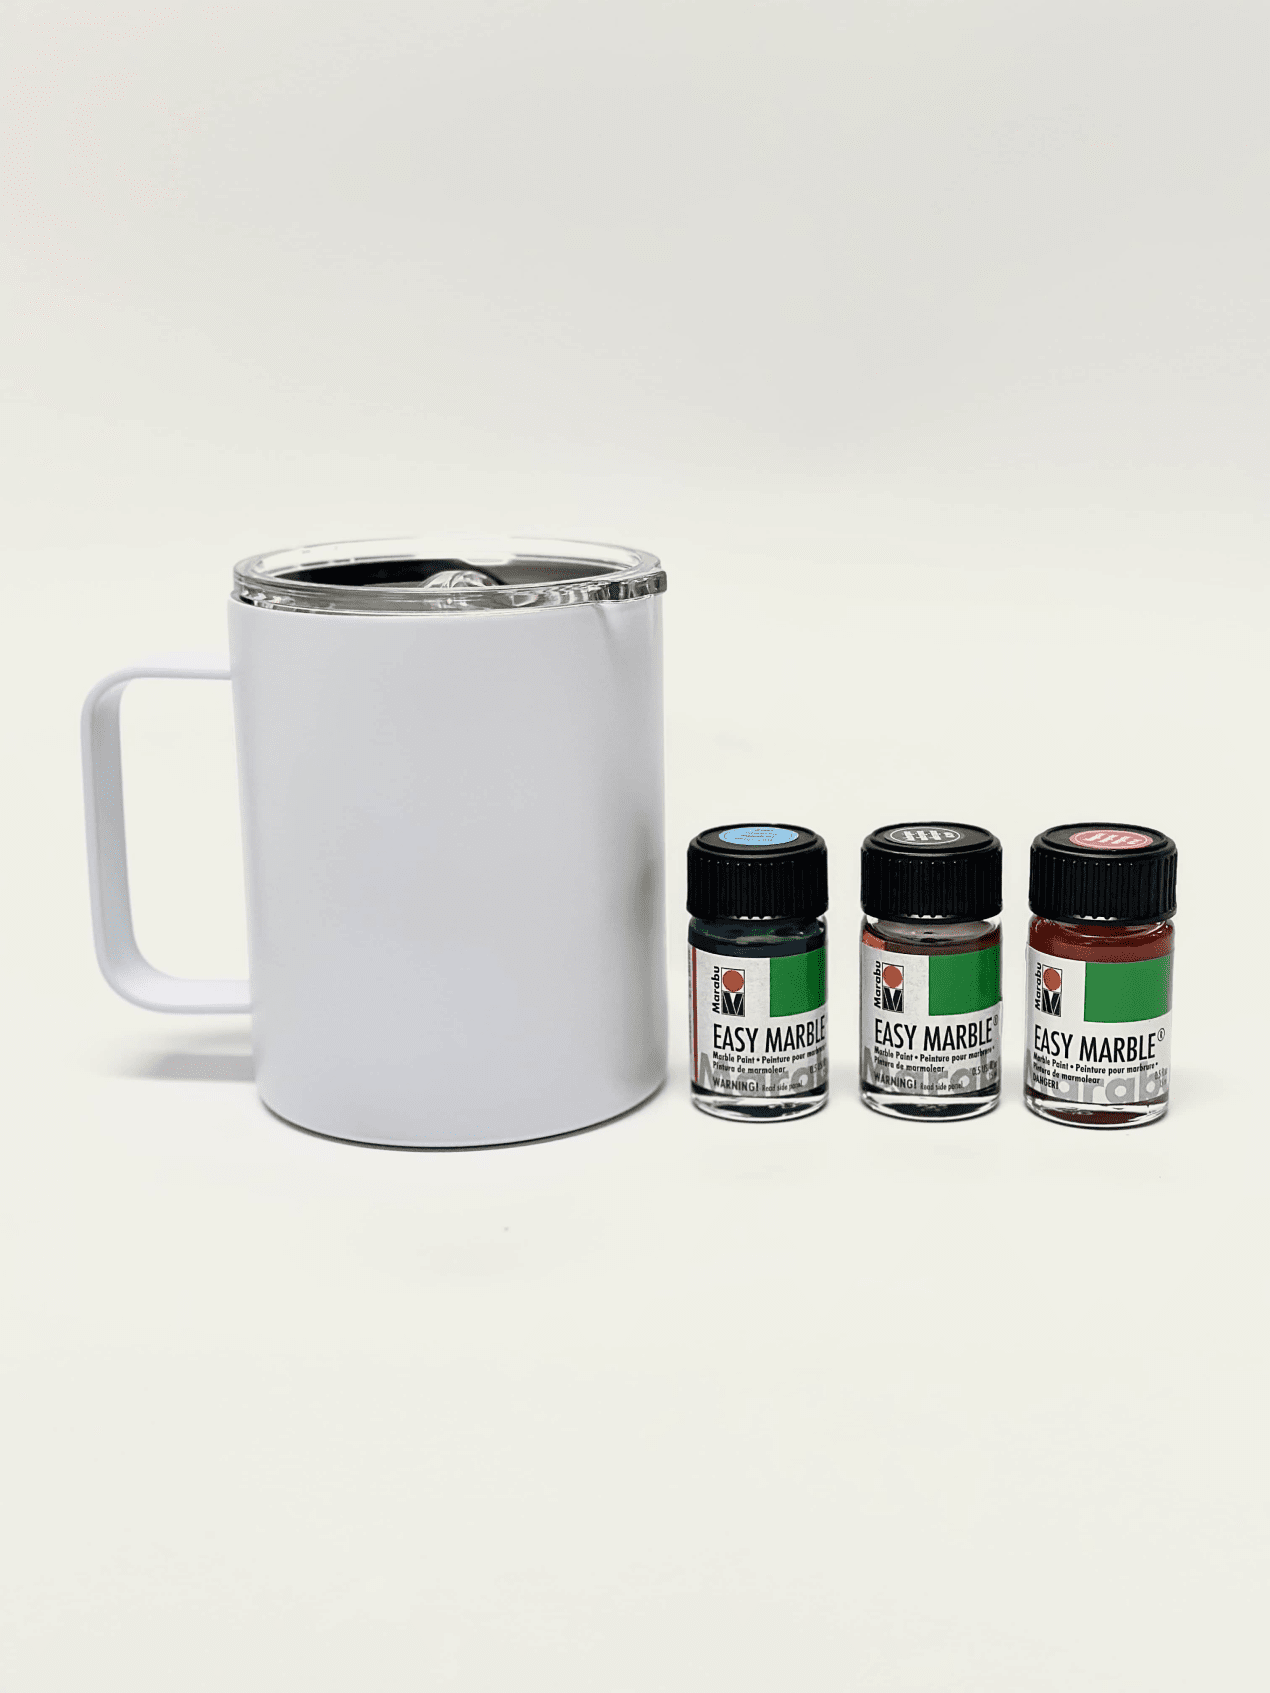
You will need to select your Marabu Marbling Paints, then grab a bucket or container, gloves, and something to hold the tumbler such as a turner arm and stand.
The bucket/container should be deep enough to fully submerge your tumbler.
Next, fill the container with lukewarm water and place it on a flat surface. The container should be deep enough to submerge the entire tumbler. If you are dipping smaller items like keychains or pen chambers, a small container will suffice.
Step 3
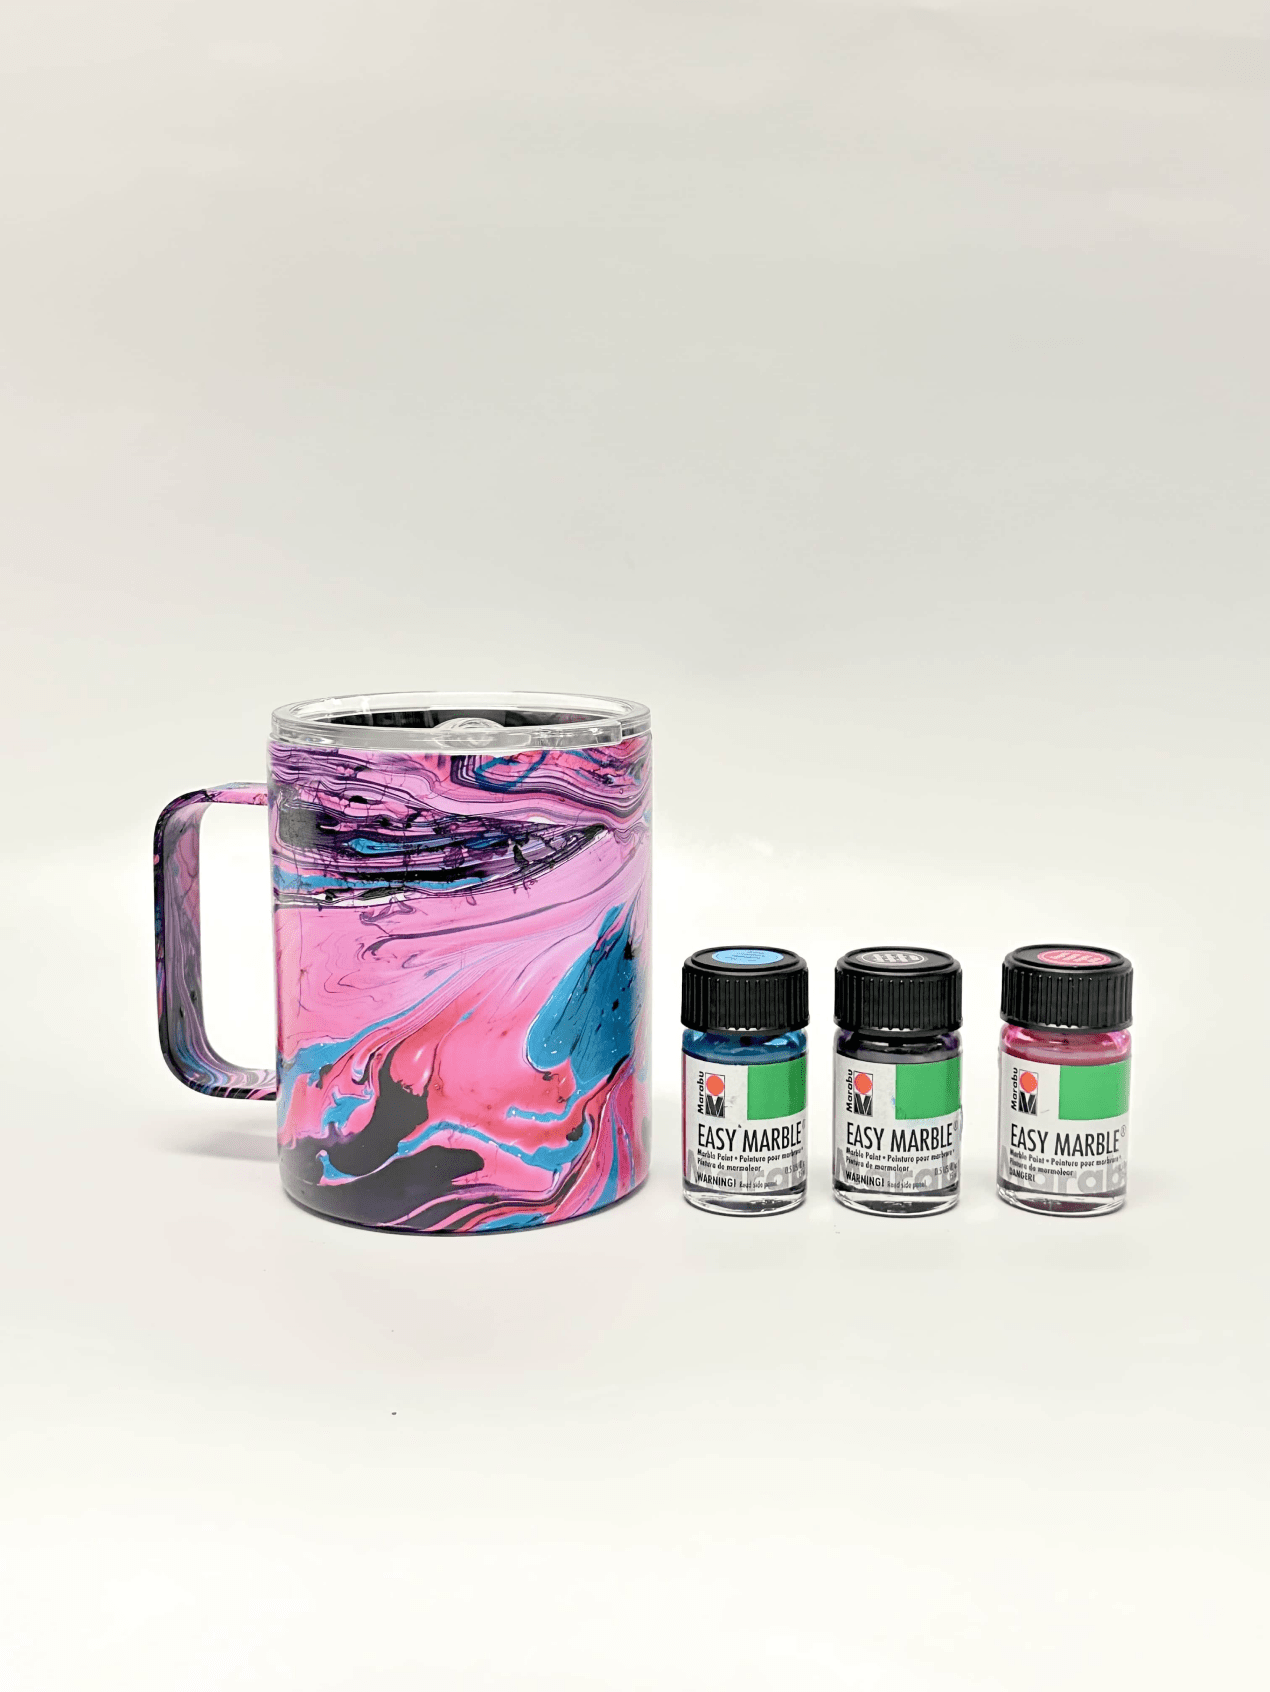
Get your Marabu Marbling Paint Ready!
Step 3
Get your Marabu Marbling Paint Ready!
Decide which colors you want to use.
The next step is very important! Shake the Marabu Marbling Paints well before using them.
Before you start dropping, decide the order in which you want to drop the colors. It's best to start with the colors that you want to be more dominant.
Use a toothpick, skewer, or any other tool with a fine point to swirl the paints together. You can create various designs and patterns by swirling the colors in different directions.
Expert Tip... If using Glitter or Metallic Marabu colors, be sure to use them to enhance the starting color of the water, then add the paints you want to use.
Step 4
Dip the Tumbler
Step 4
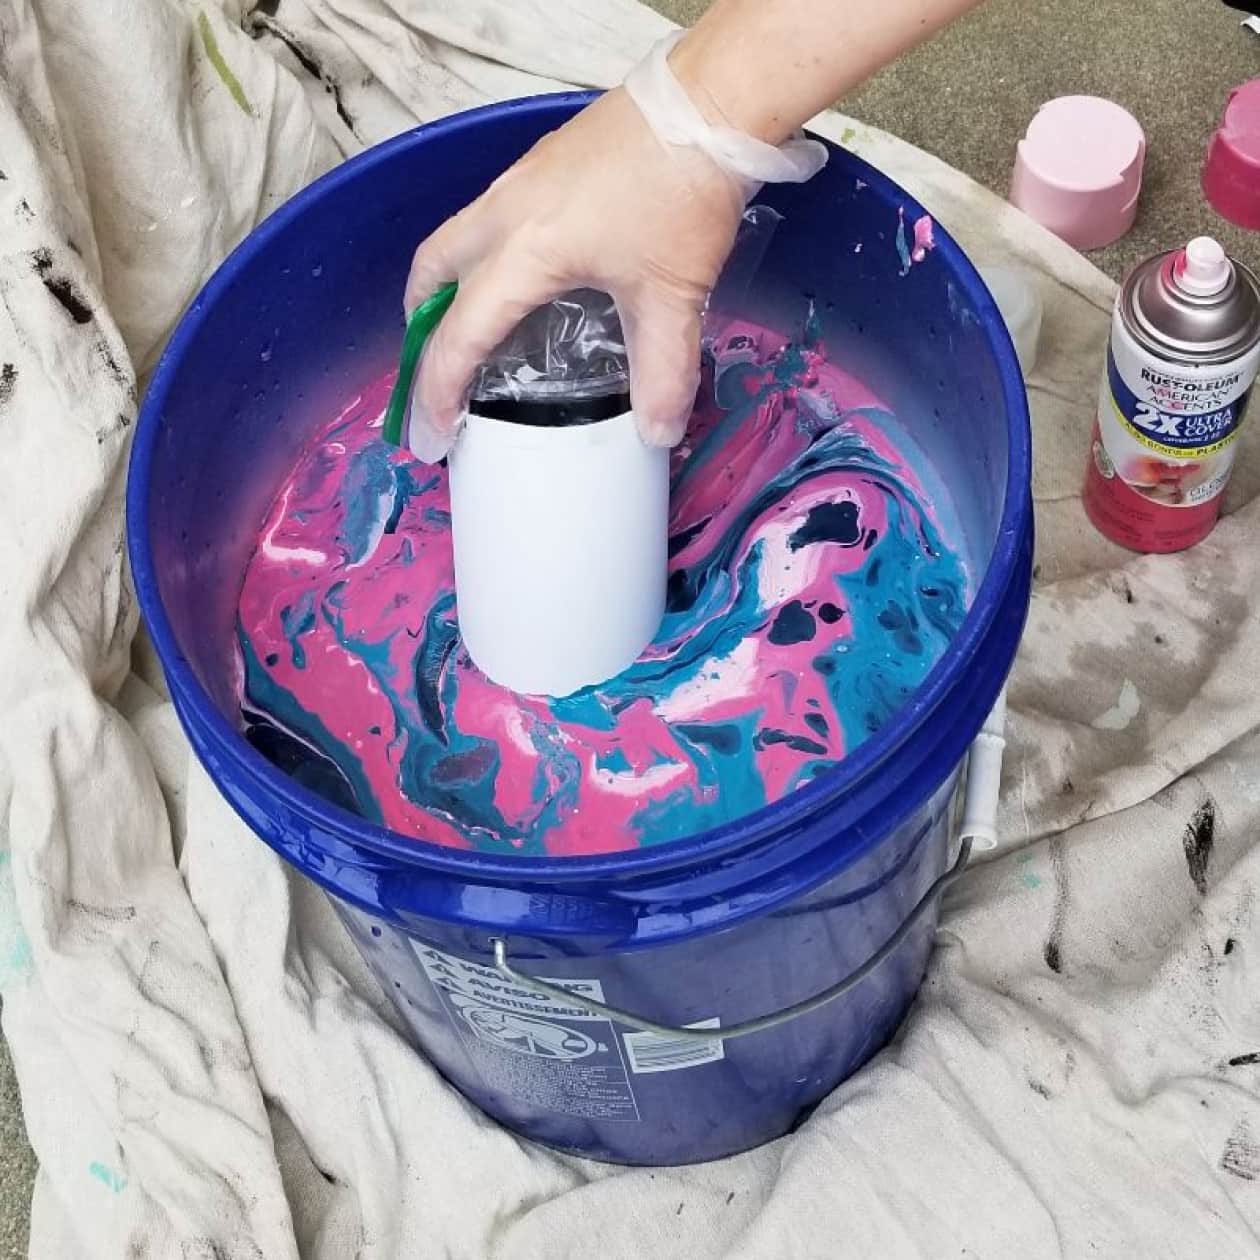
Dip the Tumbler
Slowly lower your MakerFlo tumbler into the water, making sure to submerge it completely, be careful not to drag it back through the paint. You can use gloves to avoid getting your hands dirty.
Once fully submerged, be sure to use your finger or tool to move the remaining paint away from the surface of the water and then pull the tumbler out.
Once the paint has transferred to the tumbler, carefully remove it from the water and set it to dry.
Step 5
Let it Dry
Step 5
Let it Dry
Leave the tumbler to dry completely.
It will take about 2-8 hours for the paint to completely dry, depending on how much paint you have used.
A good practice is to let the project sit overnight before coating to ensure plenty of dry time.

Step 6
Seal the tumbler
Step 6
Seal the tumbler
If you love your project as is, and you don't forsee it going through too much use, you can leave it as is.
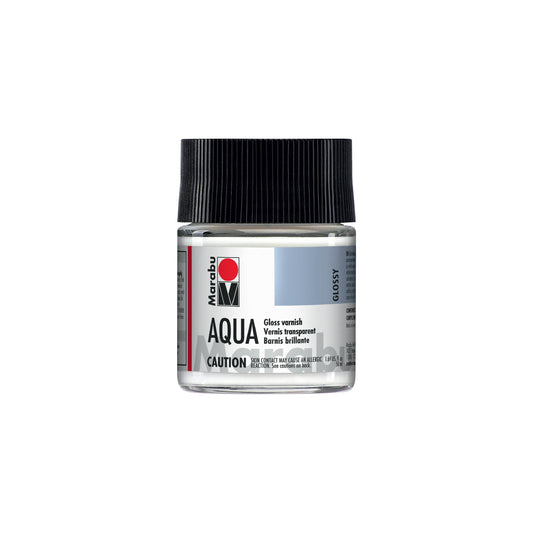
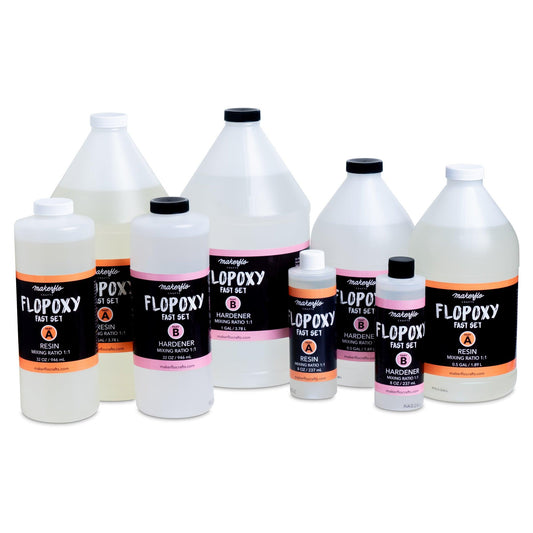
OR... If you want to extend the life of your tumbler you can seal it with resin, like Flopoxy. You can also use a waterbased sealant like Marabu's Aqua Varnish. Or even a clear vinyl wrap.
This will protect the paint from scratching easliy and let you enjoy your creation for as long as possible.
Tumbler Sealants!

Step 7
Tumbler Care
Step 7
Tumbler Care
Gentle handling and care should be given to your crafted tumbler throughout it’s life to maintain it’s seal and the hard work you put into crafting it!
Make sure your customers know that dishwashing can break the tumbler’s seal, meaning it will not maintain the hot or cold temperature of the beverage.
Depending on if you sealed the tumbler or not, and what it was coated with, take extra special care in the first 30 days, as the top coat is still curing. (Unless you used Flopoxy, then you are all set in 24 hours!)
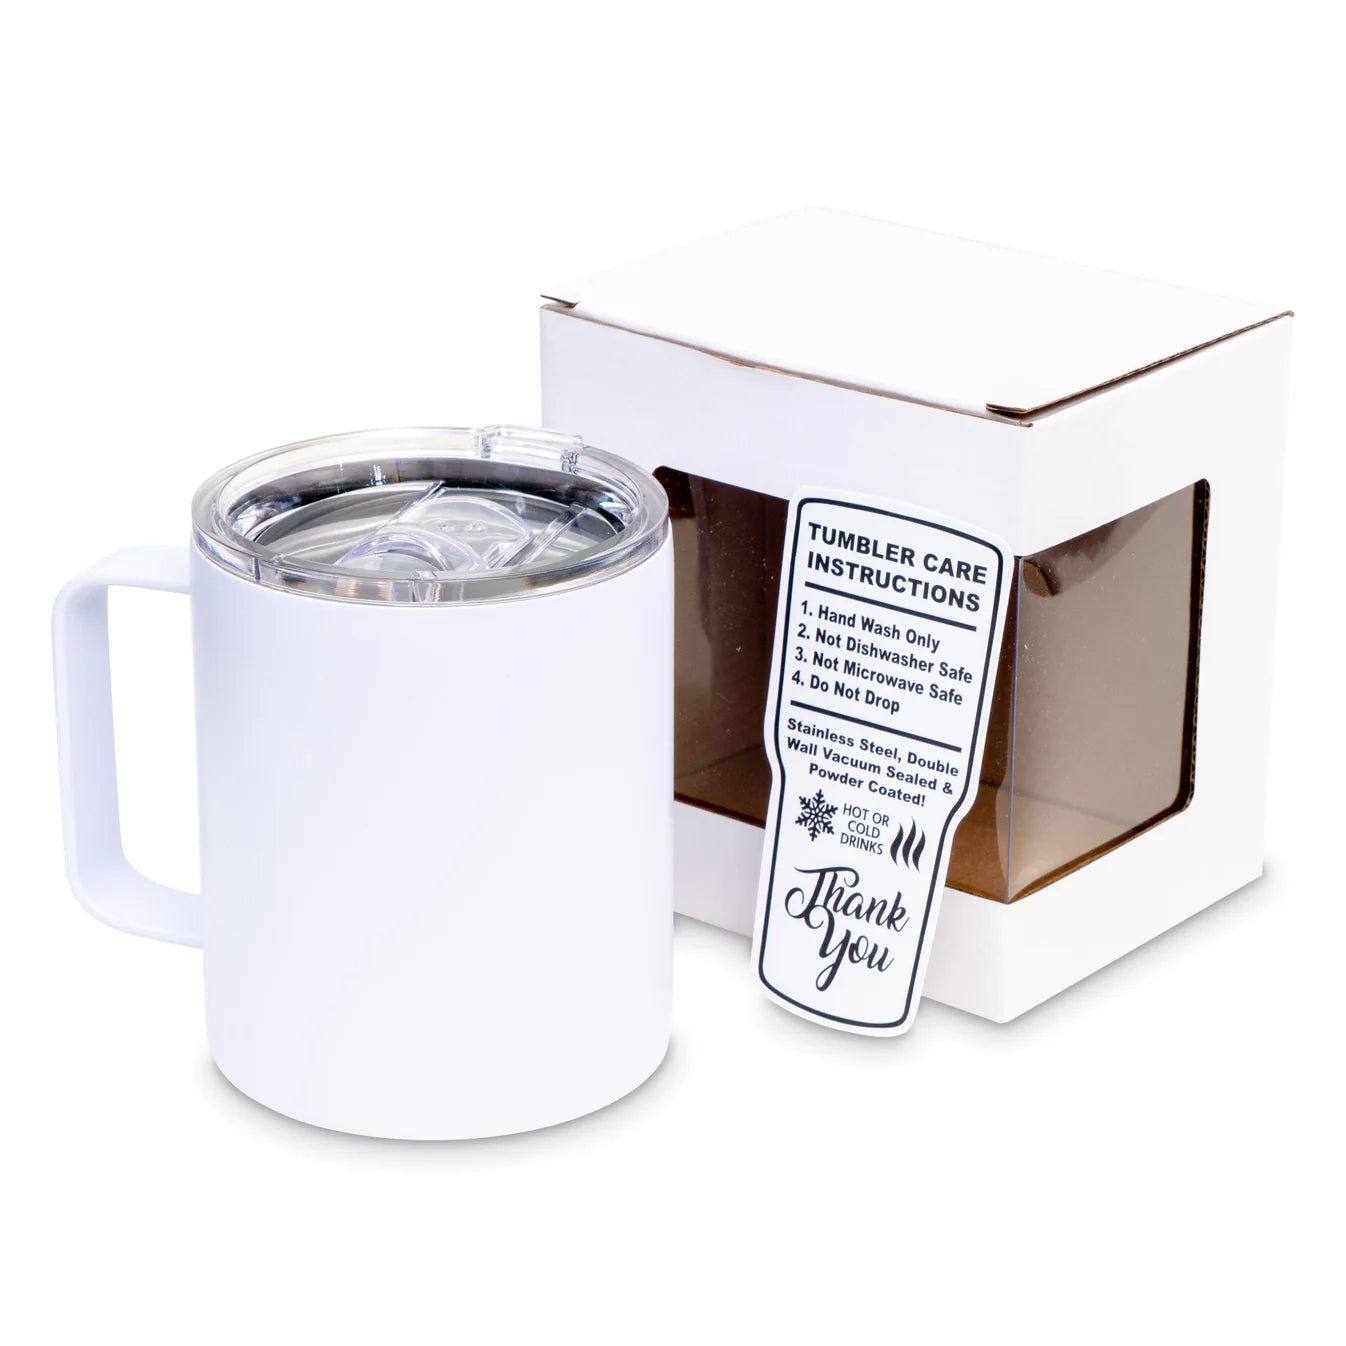
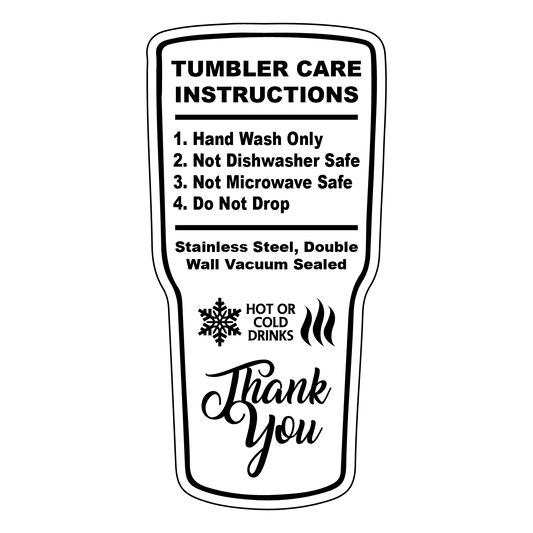
Each MakerFlo tumbler and cup comes with related accessories to include straw(s), lid(s), care card and gift box so that your packaging can match the quality of your craftsmanship.
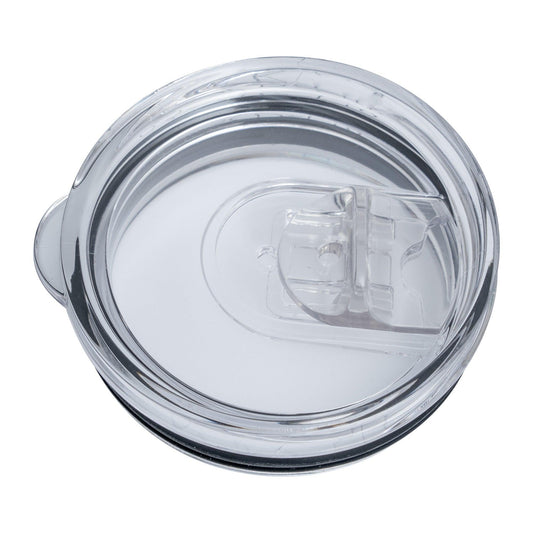
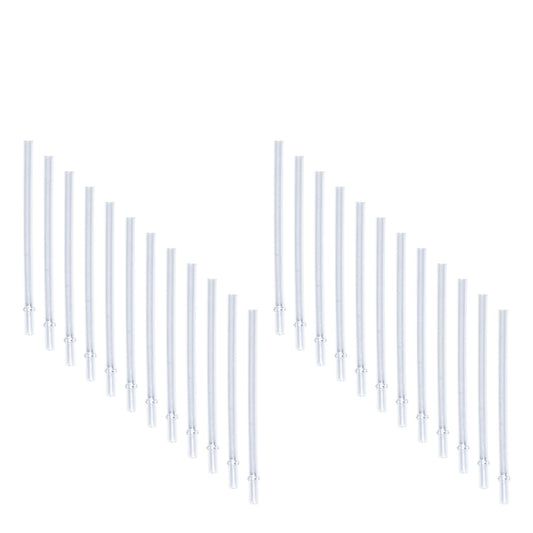
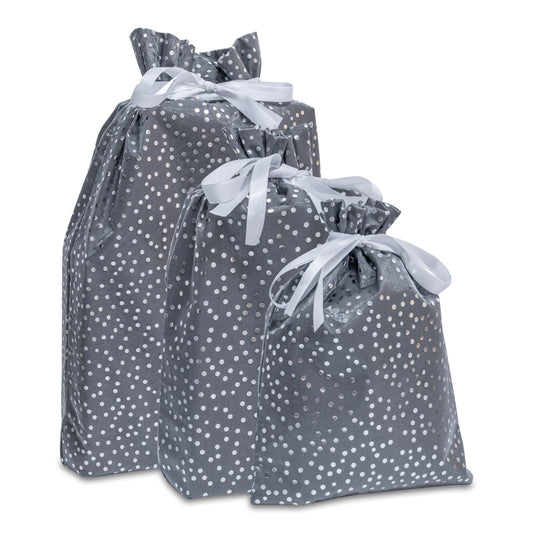
We also carry replacement lids, straws as well as Tumbler gift bags in the original accessory goes astray.
Add items you’ll need
Tumbler Care Cards (Pack of 25)
Regular price $5.00$5.00Sale price Regular price $5.00 $5.00Unit price perLiquid error (snippets/card-product line 391): product form must be given a product Replacement Lid For 20oz Skinny Tumbler
Regular price $1.50$1.50Sale price Regular price $1.50 $1.50Unit price perLiquid error (snippets/card-product line 391): product form must be given a product Pack of 25 Straws For 12oz Camper Mug
Regular price $5.95$5.95Sale price Regular price $5.95 $5.95Unit price perLiquid error (snippets/card-product line 391): product form must be given a product Sold out
Step 8
PhotoshootS AND VIDEOS
Step 8
PhotoshootS AND VIDEOS
Optional.
If it’s your first or your 100th tumbler, don’t forget about snapping some photos of your creation! You’ll want to keep some images of each of your creations, especially if you sold it to a customer, or gifted it to family or friends, so you can use examples of your work to promote new business!
For best results, we recommend:
- Using natural sunlight (whenever possible) as it makes our glitters sparkle better in photos
- Try to find a natural and neutral space to take your tumbler photos, whether it’s a nice green patch of grass, fresh snow or a fuzzy blanket. Avoid patterns or busy backgrounds, since they provide less contrast and distract from your beautiful creation
- Photos are great, but videos can help capture the amazing sparkle that glitter gives off. Be sure to take both so you can share everywhere
- Don’t be afraid to use a photo editing app to adjust lighting, contrast or add text or logos
Step 9
SHARE With your makerflo fam
Step 9
SHARE With your makerflo fam
Our MakerFlo Crafts social community is strong. Plus with our new rewards program you can now earn more points for sharing your MakerFlo crafted items!
- Tag us and use #MakerFloCrafts for a chance to be reposted on Insta & TikTok
- Get tips on our Pinterest page
- Don’t forget to join our Facebook group and share your projects and your own crafter tips with our MFC family. And when you’re ready to leave a product review on our website, remember to add a photo of your creation to score extra Flo Points.
- For tumbler inspiration view other Makerflo fam crafters' photos and reviews on our website!
- 50 points for a photo review
- 75 points for a video review
