Skip to content

Curious about UV resin and the potential it holds for your crafting hobby or business?
True, it may feel daunting to learn a brand new technique. But arming yourself with the right information will make it easy to get started and help avoid mistakes.
This guide aims to remove all the mystery from UV resin so you can confidently go forth and make all the fun crafts your heart desires.
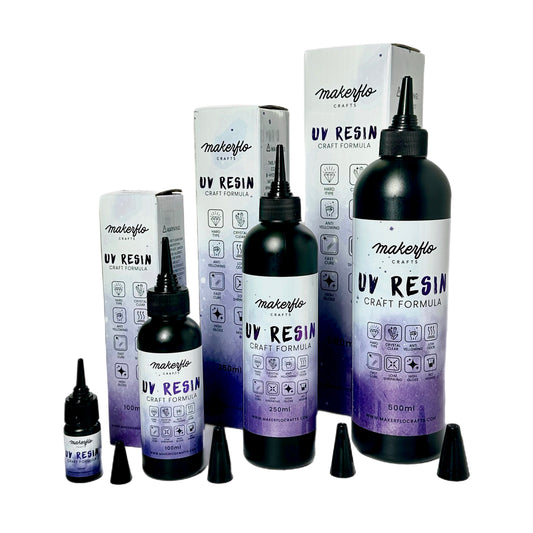
We are huge fans of UV resin here at MakerFlo Crafts. So much so that we’ve even developed our own formula just for crafting.
So whether you’re a hobbyist or business owner, if you’re looking to get into the resin game, you’re in the right place.
You’ll learn:
- How to use UV resin step-by-step
- What it’s made of and how it works
- How to fix any problems you run into while crafting
- And more
Ready? Let’s get started.
How to Use UV Resin (Step-by-Step Guide)
Let’s start at the very beginning, with some high-quality UV resin and all the supplies you need.
Step #1 - Gather Your Supplies
Here’s what we recommend for best results:
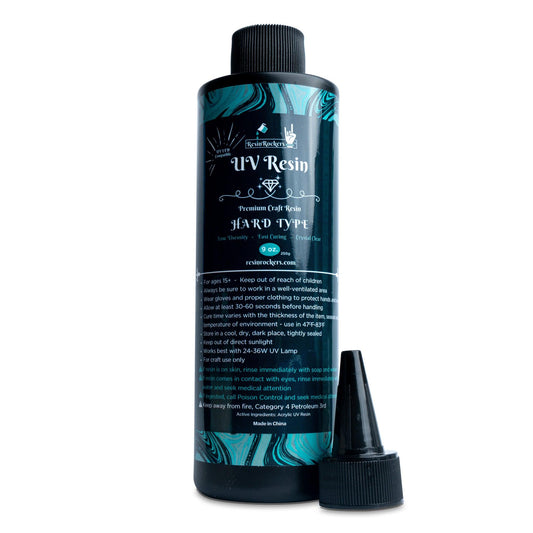
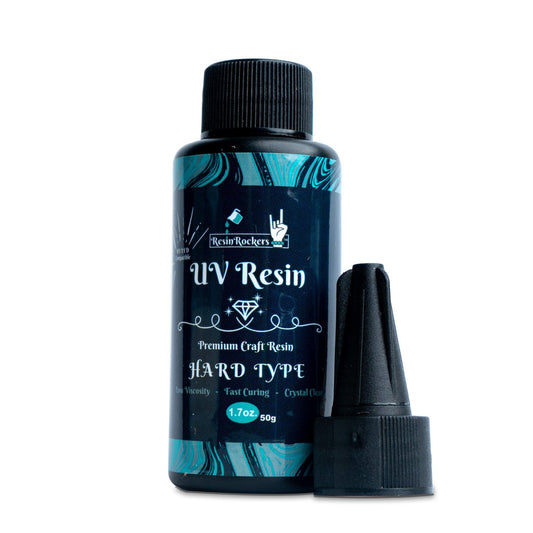
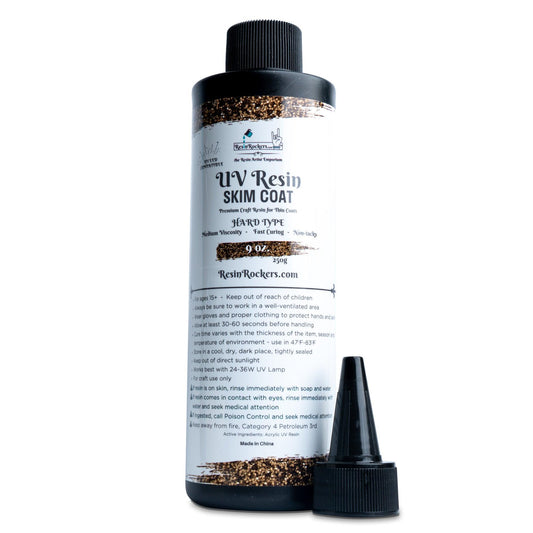
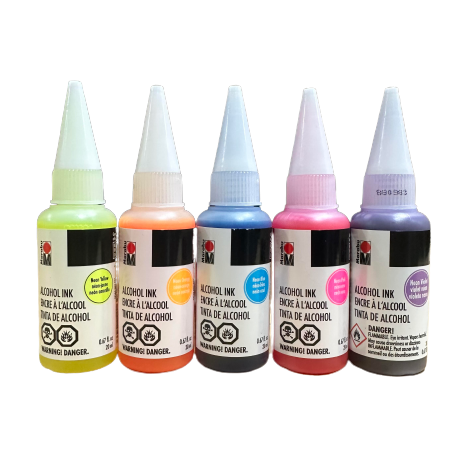
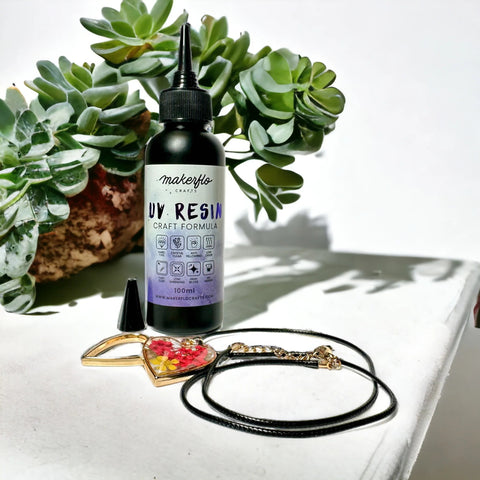
- UV Resin (you want something high-quality and made for crafting, like our MakerFlo UV Resin)
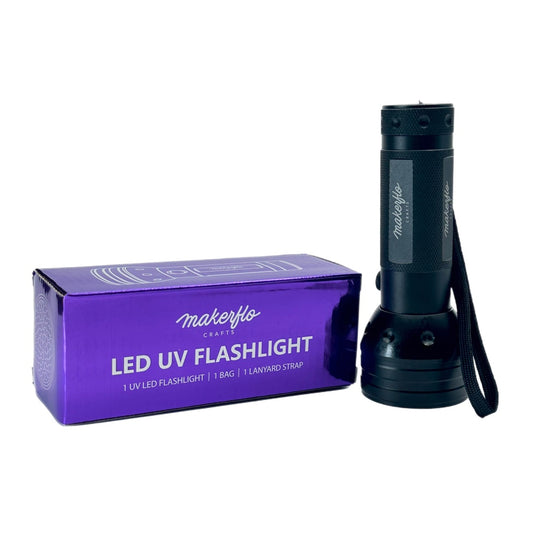
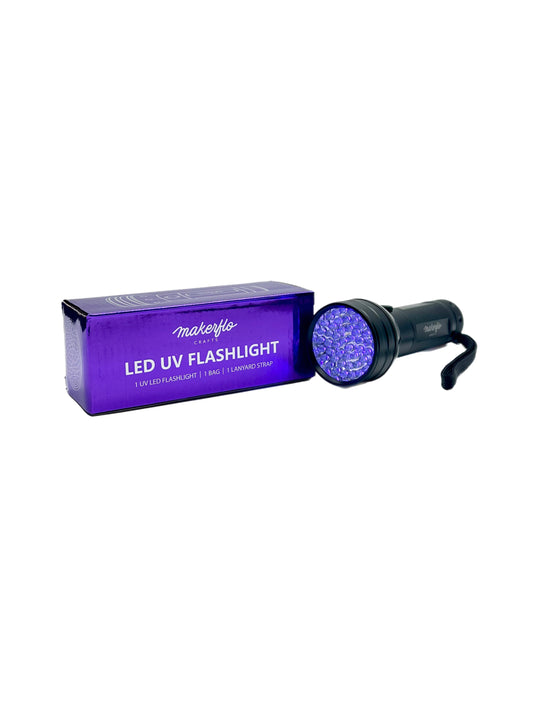
- A UV light source (like this flashlight or other UV light)
- Containers for mixing (if you’ll be adding dyes or other mix-ins)
- Stirrers (we recommend plastic or silicone)
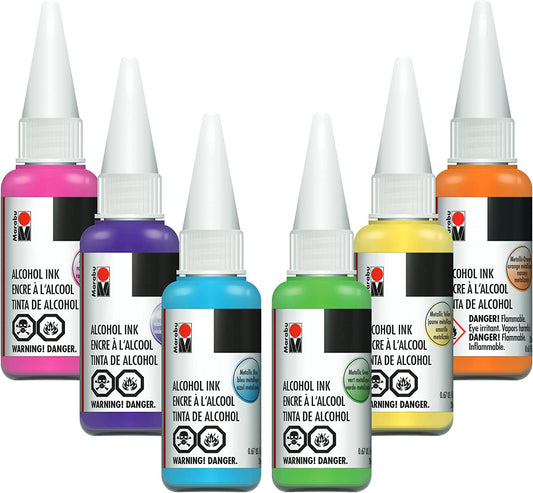
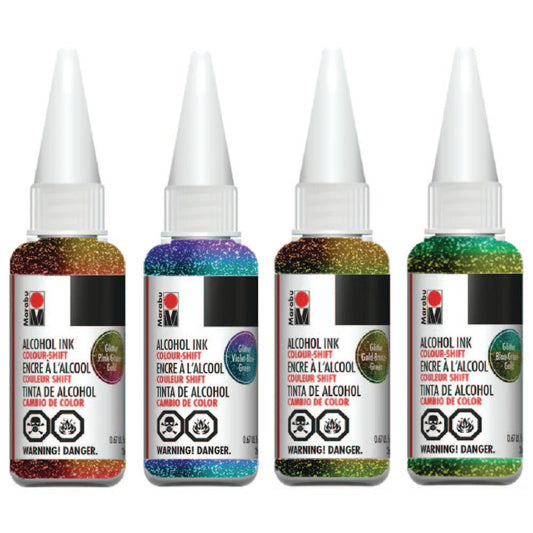
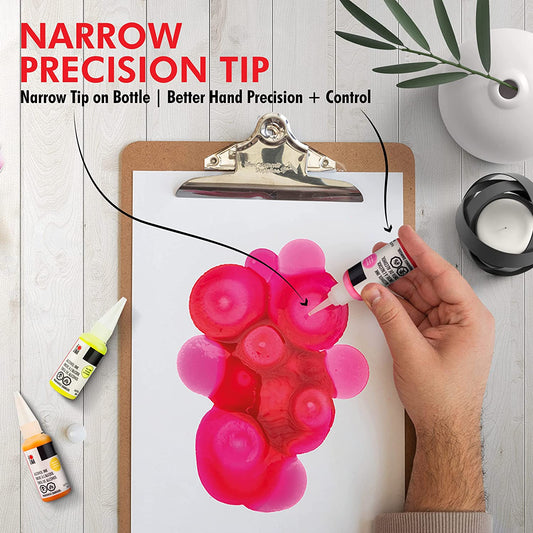
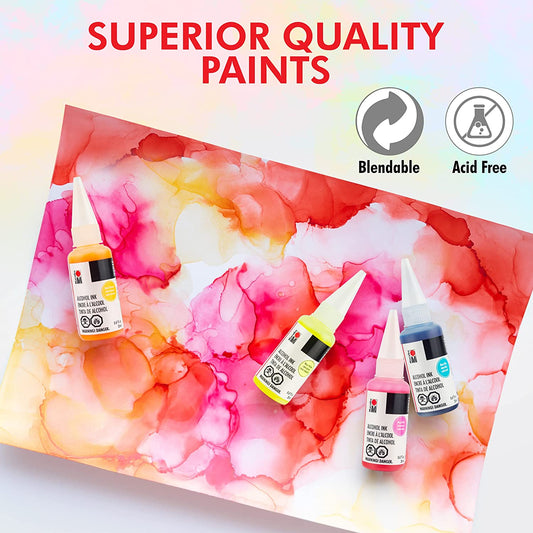
- Pigments and dyes (use resin-safe dyes to color your resin, but don’t make it too opaque or it won’t cure properly)
- Molds, bezels, and/or acrylic blanks to give shape to your resin (you’ll find these in our starter kit)
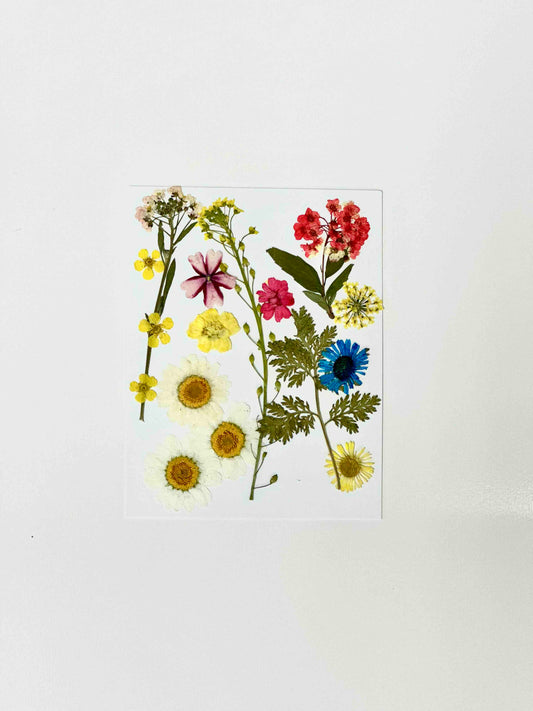
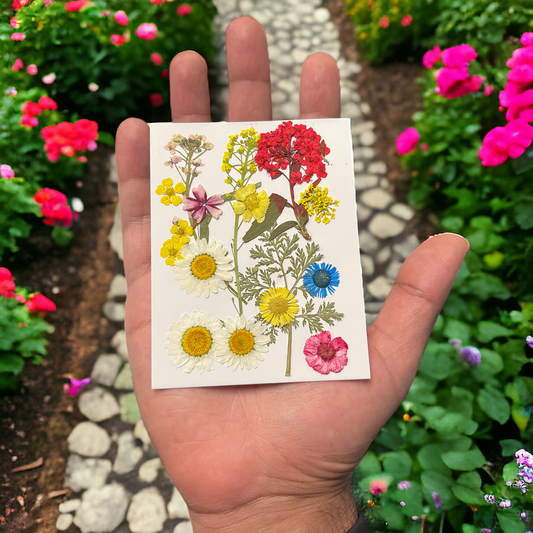
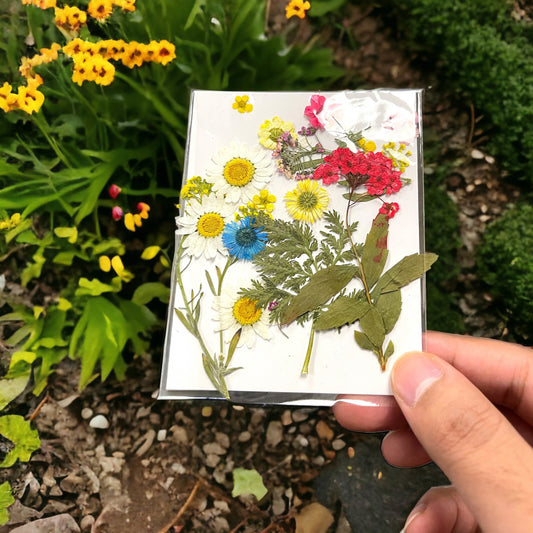
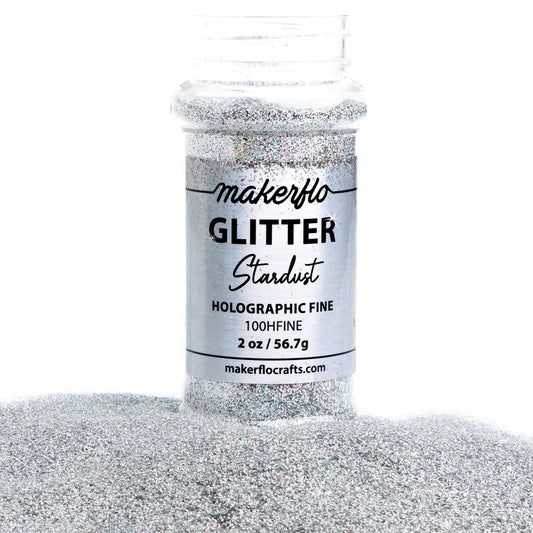
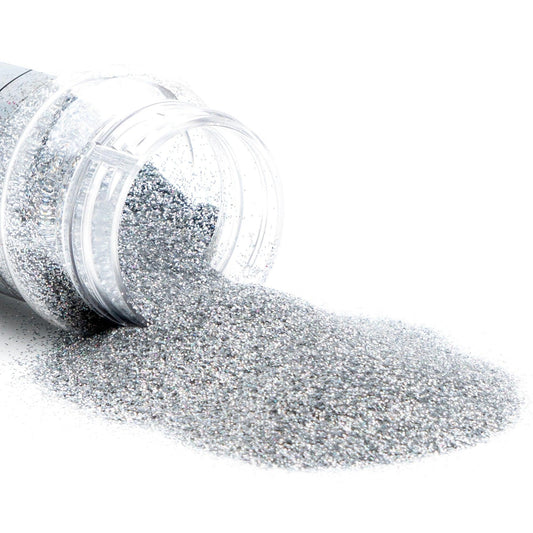
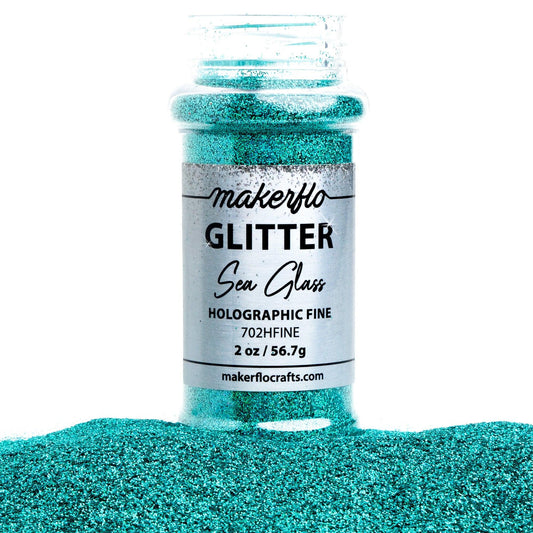
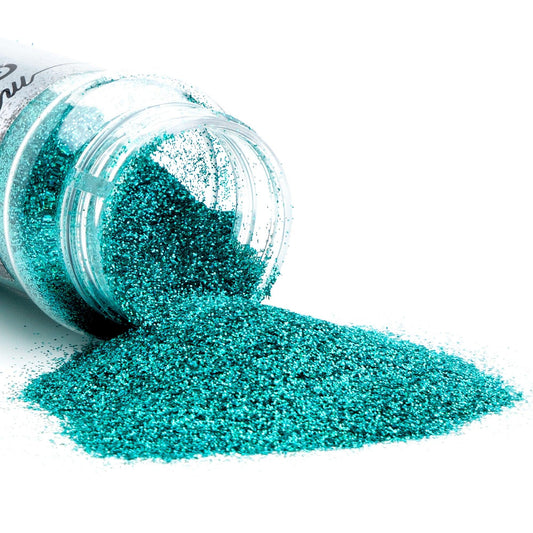
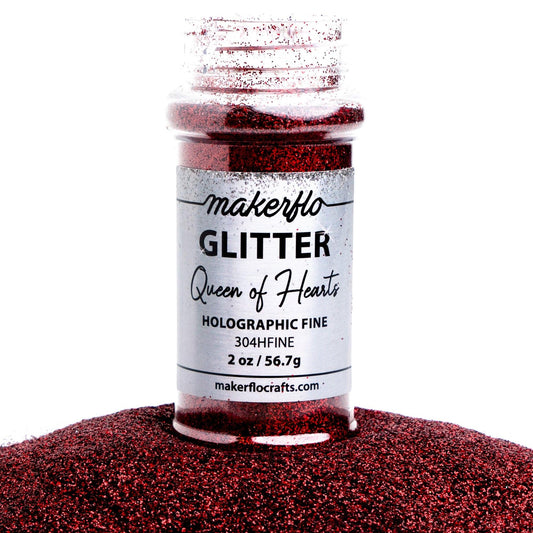
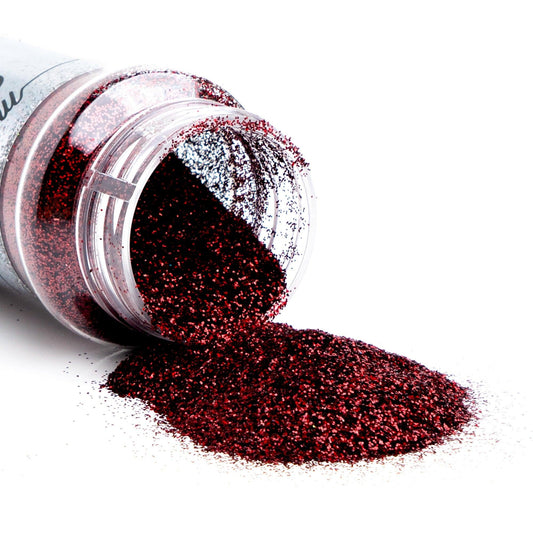
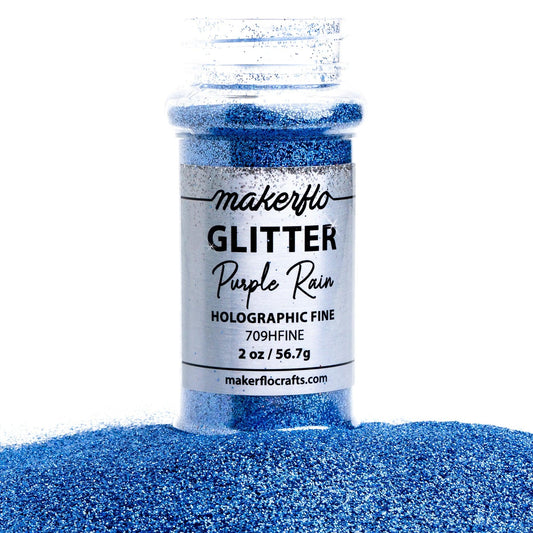
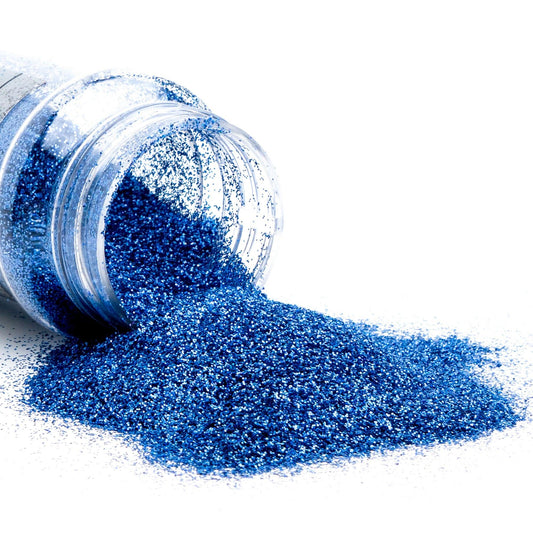
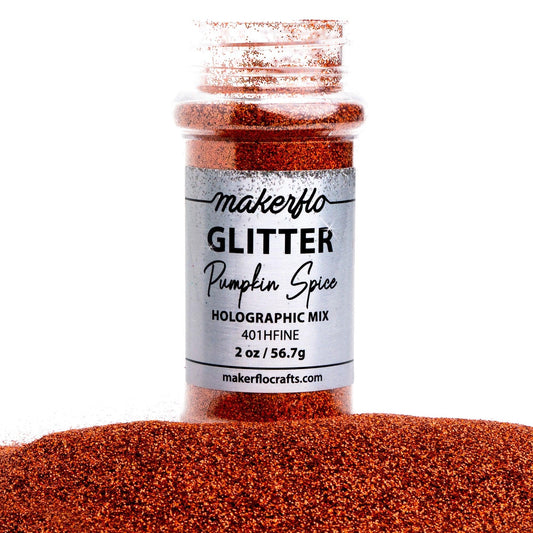
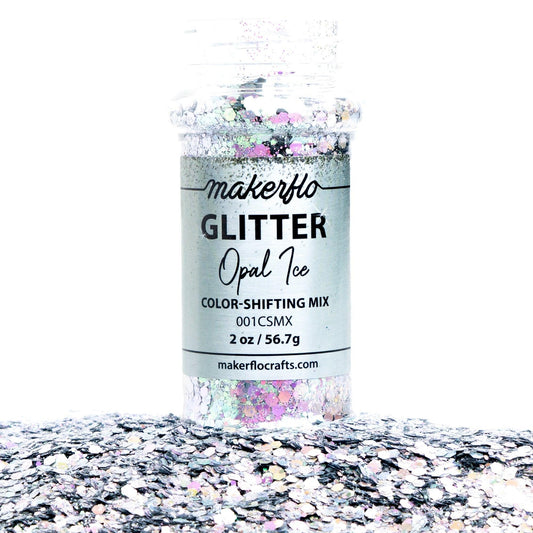
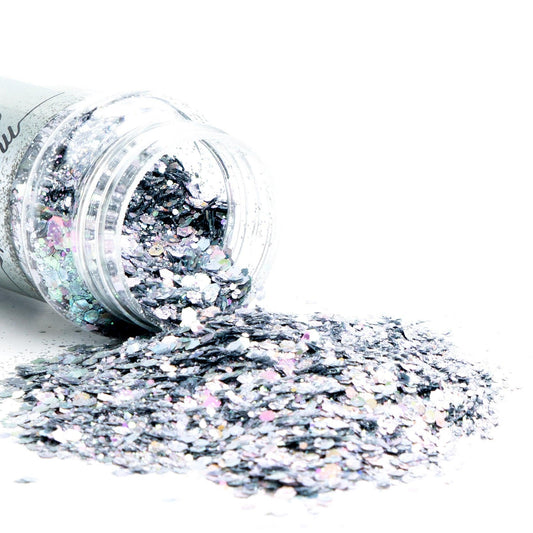
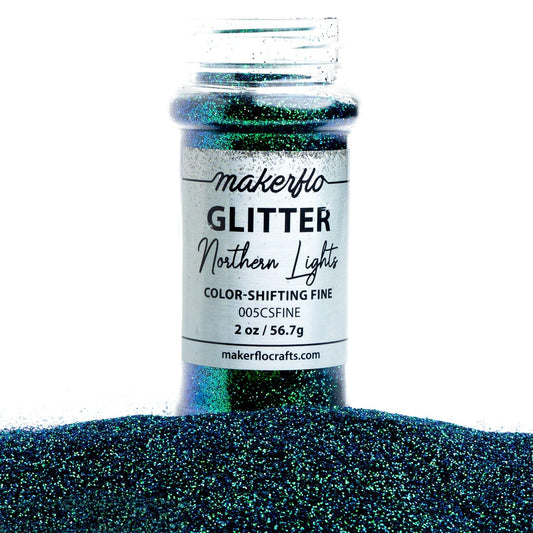
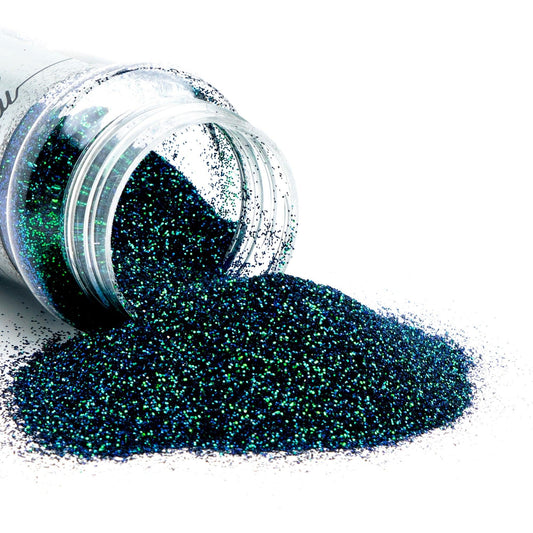
- Other materials to add to the resin, like glitter, sequins, dried flowers, charms, and more
- And finally, safety equipment (personal protective equipment or PPE), including protective gloves and goggles. You don’t want this stuff getting into your skin, eyes, or lungs.
Step #2 - Prepare Your Workspace
These steps will ensure that you have a clean and safe space to work in.
- Make sure your workspace is well-ventilated or use a respirator mask.
- Read through the instructions for your brand of UV resin and familiarize yourself with the manufacturer’s recommendations.
- Clean and wipe down your workspace to get rid of dust and dirt that could mess up your final product.
- Prepare all of the materials above, including the mixing bowls, stirring sticks, resin bottle, blanks, bezels or molds, and any other mix-ins you’d like to include.
- Spread some wax paper or butcher paper over your table to protect it.
- When you’re ready to start crafting, put on your protective gloves and goggles to prevent irritation.
Step #3 - Prepare the Resin
- If you’ll be using clear resin as-is, you don’t need to mix it. Just prepare the bezel, mold, or blank and any items you’ll cover with the resin.
- If you want to color or add glitter or beads to the resin, use a stirrer and mixing bowl to combine it together.
- Make sure that your resin still has some transparency so the UV light can penetrate it thoroughly. (Otherwise it may not cure all the way.)
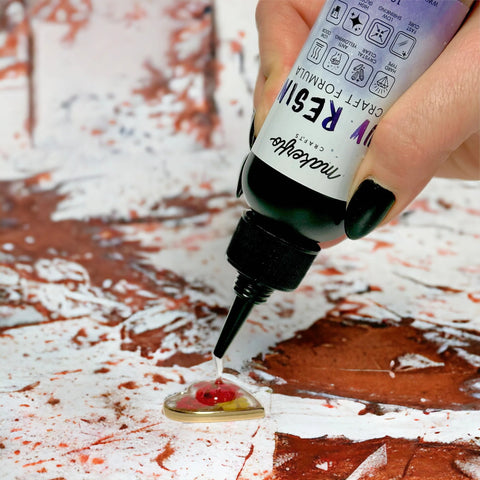
Step #4 - Pour the Resin
- Once your resin is ready to use, pour it into the bezel or mold or onto the acrylic blank in the shape that you want it to be.
- Make sure you’re working in thin layers and curing each layer at a time.
- If you see bubbles, you can let it sit and wait for the bubbles to pop, or use a heat gun to pop them.
- (If you’re having trouble with bubbles, try warming your UV resin with a heating tray or hot water bath before pouring. Just don’t get any water into the final product!)
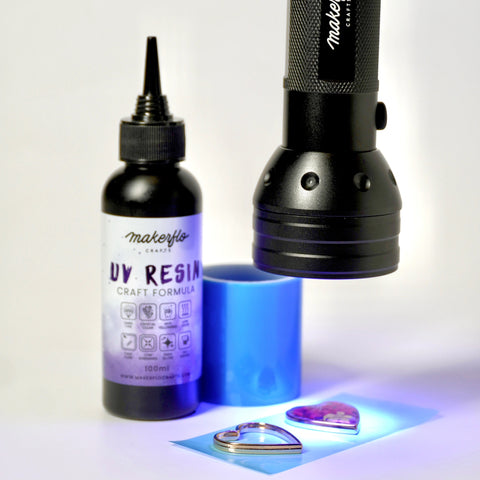
Step #5 - Cure and Finish
- Each time you pour a thin layer of resin, you want to cure it with a UV light. A thin layer of resin will cure in about 30 seconds; a thicker layer might take 45.
- You can also leave your item in the sun if you don’t have a light.
- When you’re all done with the layers, go back and cure the bottom of the object for about 20 seconds.
- Each time you cure a layer, you can knock the mold or gently tap the item to see if it’s done.
- Pro Tip #1: Wait until bubbles pop before curing.
- Pro Tip #2: We recommend starting with the UV flashlight further away, then slowly moving it toward the resin for best results.
- Pro Tip #3: Soak flowers and accessories in resin before adding them to your object to avoid unwanted bubbles.
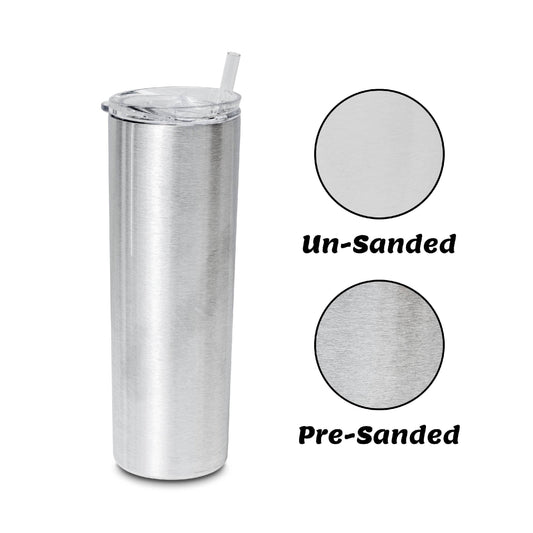
- Finally, you can carefully sand and buff the edges of your item to smooth and polish them. Work with finer and finer grain to create smooth edges and a shiny finish.
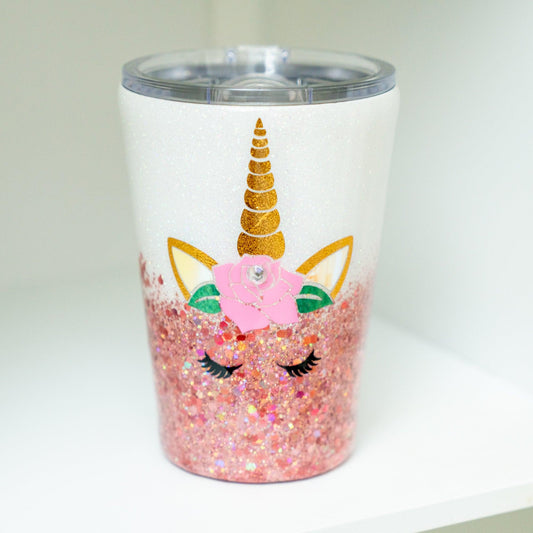
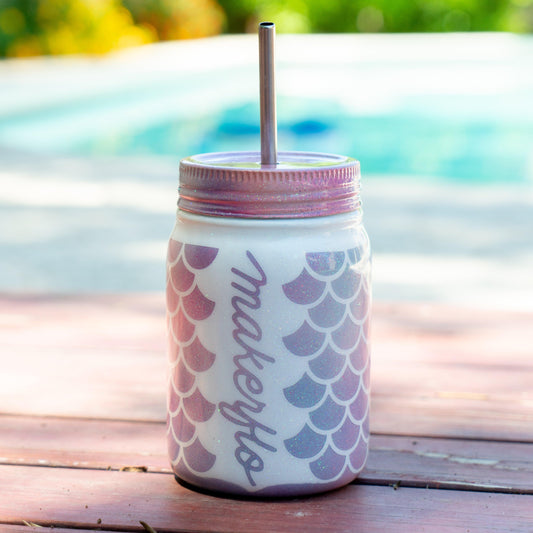
And ta-da! ✨ You’ve got a nifty new piece of jewelry or home decor to enjoy.
Now check out this whole process
Looking for a craft tutorial to follow? We’ve got you! Check out our UV resin tutorials on YouTube, where our crafter extraordinaire Sam shows you how to make crafts with UV resin and acrylic blanks, bezels, and more!
Here's one where she makes a dog tag with an acrylic blank:
What is UV Resin?
UV resin is a type of liquid adhesive that cures under UV light.
Unlike epoxy resin, which needs to be mixed with a hardener to start the curing process, UV resin will stay in liquid form until it comes into contact with UV light.
The question is: why choose UV resin over other crafting methods? What are the pros and cons? That’s the focus of the next section.
Why Choose UV Resin?
UV resin is extremely easy to use. All you do is squeeze it out of the bottle, mix it with dyes and add-ins, apply it to a surface, and harden it with a simple UV light.
Unlike epoxy resin, you don’t need to mix anything together to harden this adhesive. And once you hit it with UV light, it firms up in a matter of seconds.
The downside of this material is that you must work in thin layers. If you apply it too thickly, the UV light won’t be able to cure it all the way through. You also can’t add too much dye or glitter or it’ll block the light from getting through.
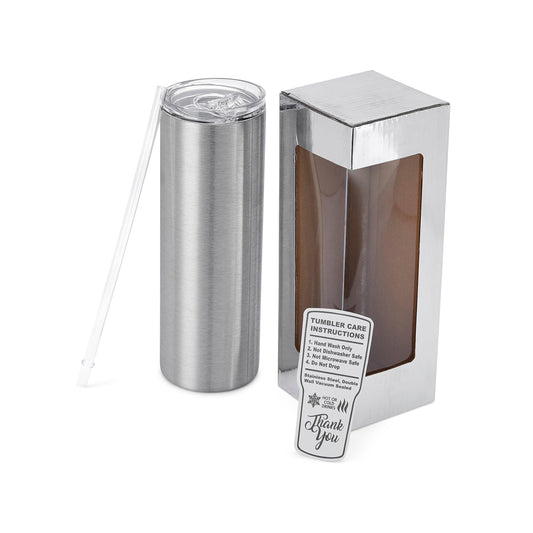
Finally, the finished product won’t be food safe. That means this items made with this material aren’t suited for tumblers or other products meant for consumption.
You can learn more about the differences between UV resin and epoxy in our comparison article.
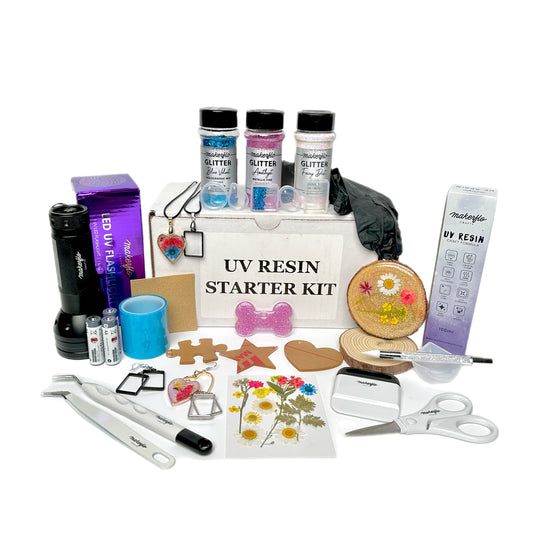
This is the Easiest Way to Get Started
You could spend a lot of time trying to find all the materials you want to start your first UV resin project. Or you could pick up the UV Resin Starter Kit, which we’ve packed to the brim with everything you need to start right away!
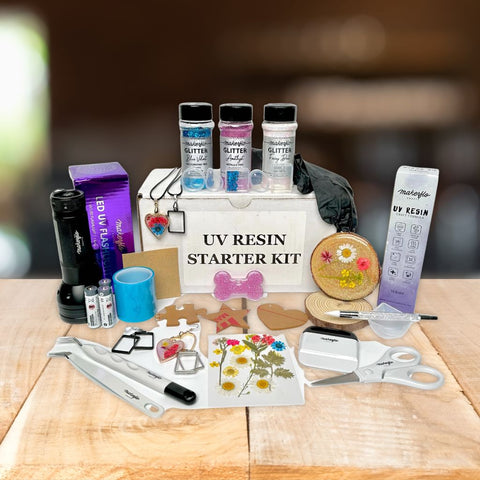
Here’s what’s inside:
- MakerFlo UV Resin
- A silicone bowl, stirring wand, and mold
- 4 acrylic blanks
- A UV flashlight
- 3 types of glitter
- 3 bezel sets
- Dried flowers
- Wood bark slices
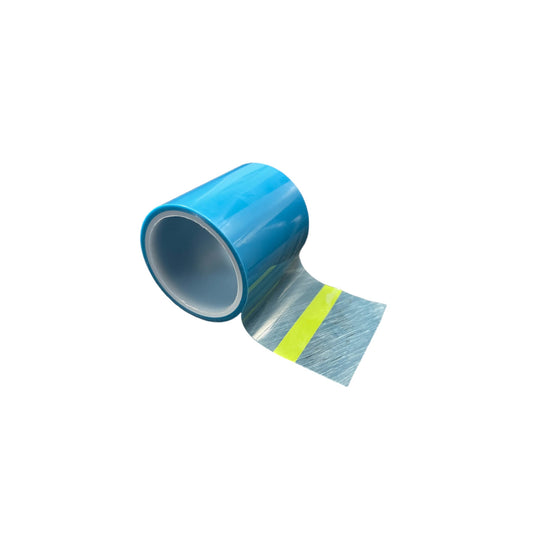
- Resin tape
- Batteries
- Tool kit
- A glove
- Sand paper
Check out the UV Resin Starter Kit at MakerFlo
Sticky Situations & How to Solve Them
"But what if this happens?" you might be wondering. We’ve got you covered with this handy troubleshooting guide.
My resin is getting scratch marks.
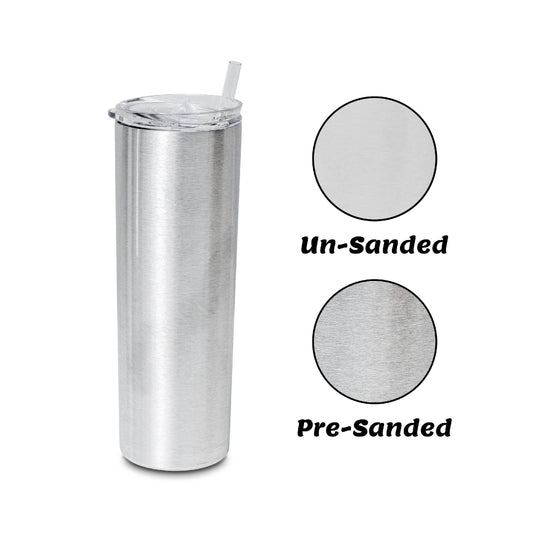
UV resin is less scratch-resistant than epoxy resin, so it’s important to handle it with care. You can use sandpaper in increasingly finer textures to buff and polish the resin.
I’m seeing a lot of bubbles.
Give your UV resin some time to settle and let the bubbles pop before curing. If you’re adding flowers or other textured objects, make sure to coat them in UV resin before applying a layer on top, as putting them in dry might cause unwanted bubbles.
The finished product looks dull.
Try polishing your finished product with a soft cloth. If that doesn’t fix the issue, experiment with different molds or bezels to see if that might be causing it. And as always, make sure you’re using a high-quality UV resin made for crafting, like MakerFlo UV Resin.
My resin art is still tacky after curing.
It’s normal for UV resin to be a little bit tacky right after curing. You can try letting it rest in a dark, cool place and see if it firms up.
If it’s still tacky even after letting it rest, you may have cured it for too long, there was too much moisture in the air when curing, or it was too cold. Follow your manufacturer’s instructions carefully to reduce the risk of curing problems.
My UV resin won’t cure.
Make sure you’re working in thin layers and haven’t made your UV resin too opaque with lots of dye or glitter. If the light can’t get through all the layers, it won’t cure properly. Make sure you’re also following the manufacturer’s instructions as written.
The finished object is turning yellow.
UV resin turns yellow after too much exposure to the sun. To combat this yellowing, some crafters add a drop or two of blue dye to the mixture before pouring.
I accidentally touched UV resin before it cured.
First of all, a safety note: UV resin is irritating to the skin, so make sure you always wear protective gloves when handling it. If your skin comes into contact with the material, stop what you’re doing and immediately wash it off with soap and water. And if you’ve caused a dip or scratch in the UV resin before it’s cured, you can try to reshape it or fill in the dent with more UV resin to fix it.
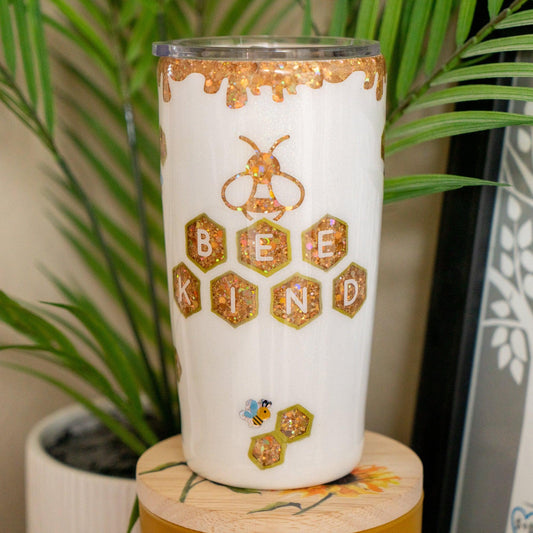
I want to use my UV resin art for eating and drinking.
UV resin isn’t food safe, so you shouldn’t use it as-is for an eating use. However, you can cover your finished object with a layer of epoxy resin, which IS food safe. If it’s fully coated with cured resin, it’ll become okay to use as a plate or cup or other eating utensil.
How to Take Care of UV Resin Crafts
To keep your crafts looking fresh, wipe them regularly with a dry or damp soft cloth to remove dust and dirt.
Treat them with care, as they are more susceptible to damage.
And keep them away from heat and flame, as you would with any type of resin material.
Get Ready to Make Some Amazing Creations
Have we answered all your burning questions about UV resin? If not, leave us a comment below and we’ll do our best to answer.
Before you go, don’t forget to pick up our 5-star-rated UV resin starter kit that has everything you need to make your first set of crafts.
And if you’re looking for more support, head on over to our Facebook Group where thousands of other crafters like you join to share ideas and ask questions in a supportive environment.
See you there!
Frequently Asked Questions (FAQ)
How is UV resin used?
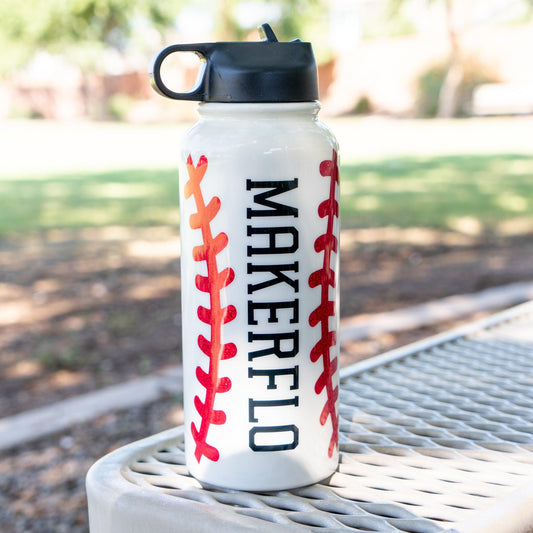
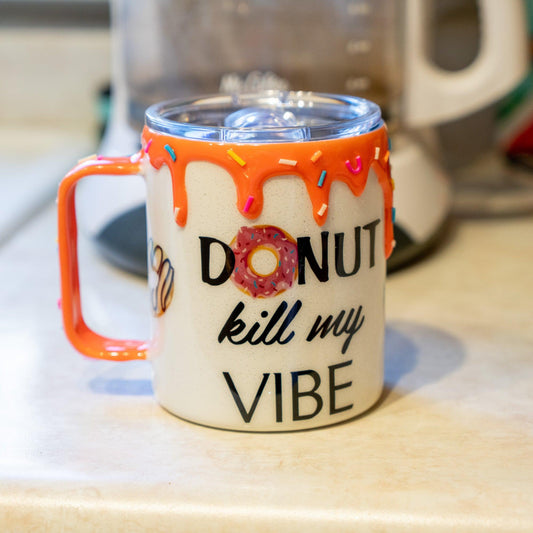
UV resin is used to make solid objects or decorations like pendant jewelry, decorative objects, decorated pen barrels, colorful fillings for engravings, and more. It’s mixed with dyes and mix-ins, then poured in thin layers and cured with a UV light.
How long does it take UV resin to cure?
It can take between 15 to 40 seconds to cure each layer with UV light, depending on the thickness of the layer.
Does UV resin need hardener?
No, you don’t need any chemical hardener to use UV resin. It works straight out of the bottle.
What do you mix UV resin with?
You don’t need to mix it with anything to use it, but you can mix it with dyes, glitter, or other small objects to customize it.
Is UV resin as strong as epoxy?
It’s not as durable as epoxy.
What is the downside to UV resin?
UV resin can only be applied in thinner layers with clear molds or blanks, and isn’t food-safe like epoxy. However, it’s easy to use and quick to cure.